
I’m not often in the workroom these days but we are working with a 20 something couple on the living room of their New York City apartment. I have worked with my client’s parents in the past and in fact worked with my client and her sisters on their bedrooms when they were still teenagers living at home. Because we are over budget, AND because this fabric is important to my design plan but very expensive AND because I have a soft spot for my client I decided to take myself back into the workroom to fabricate these pillows. Every little bit counts when you are over budget!
Our clients are often surprised at the cost of custom pillows. I’m sure they don’t realize the time and expertise that go into the making of a high quality pillow so I decided to keep a photo diary of the process.
The first step in producing a high quality pillow is using a high quality insert. We like a down and feather combination like this one from Harris Pillow Supply.

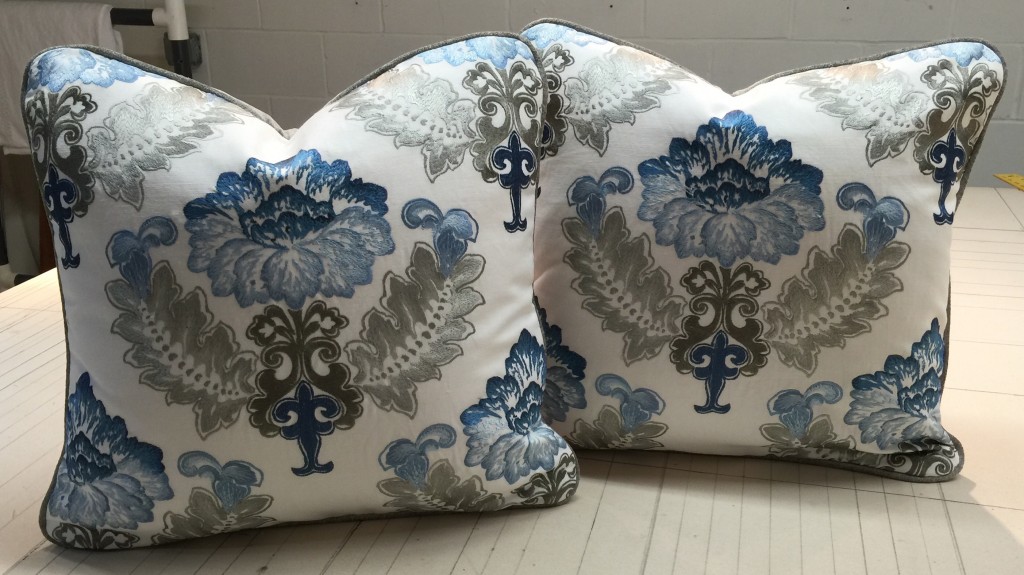
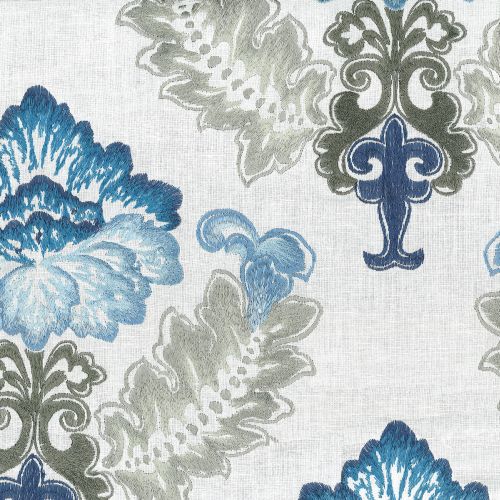
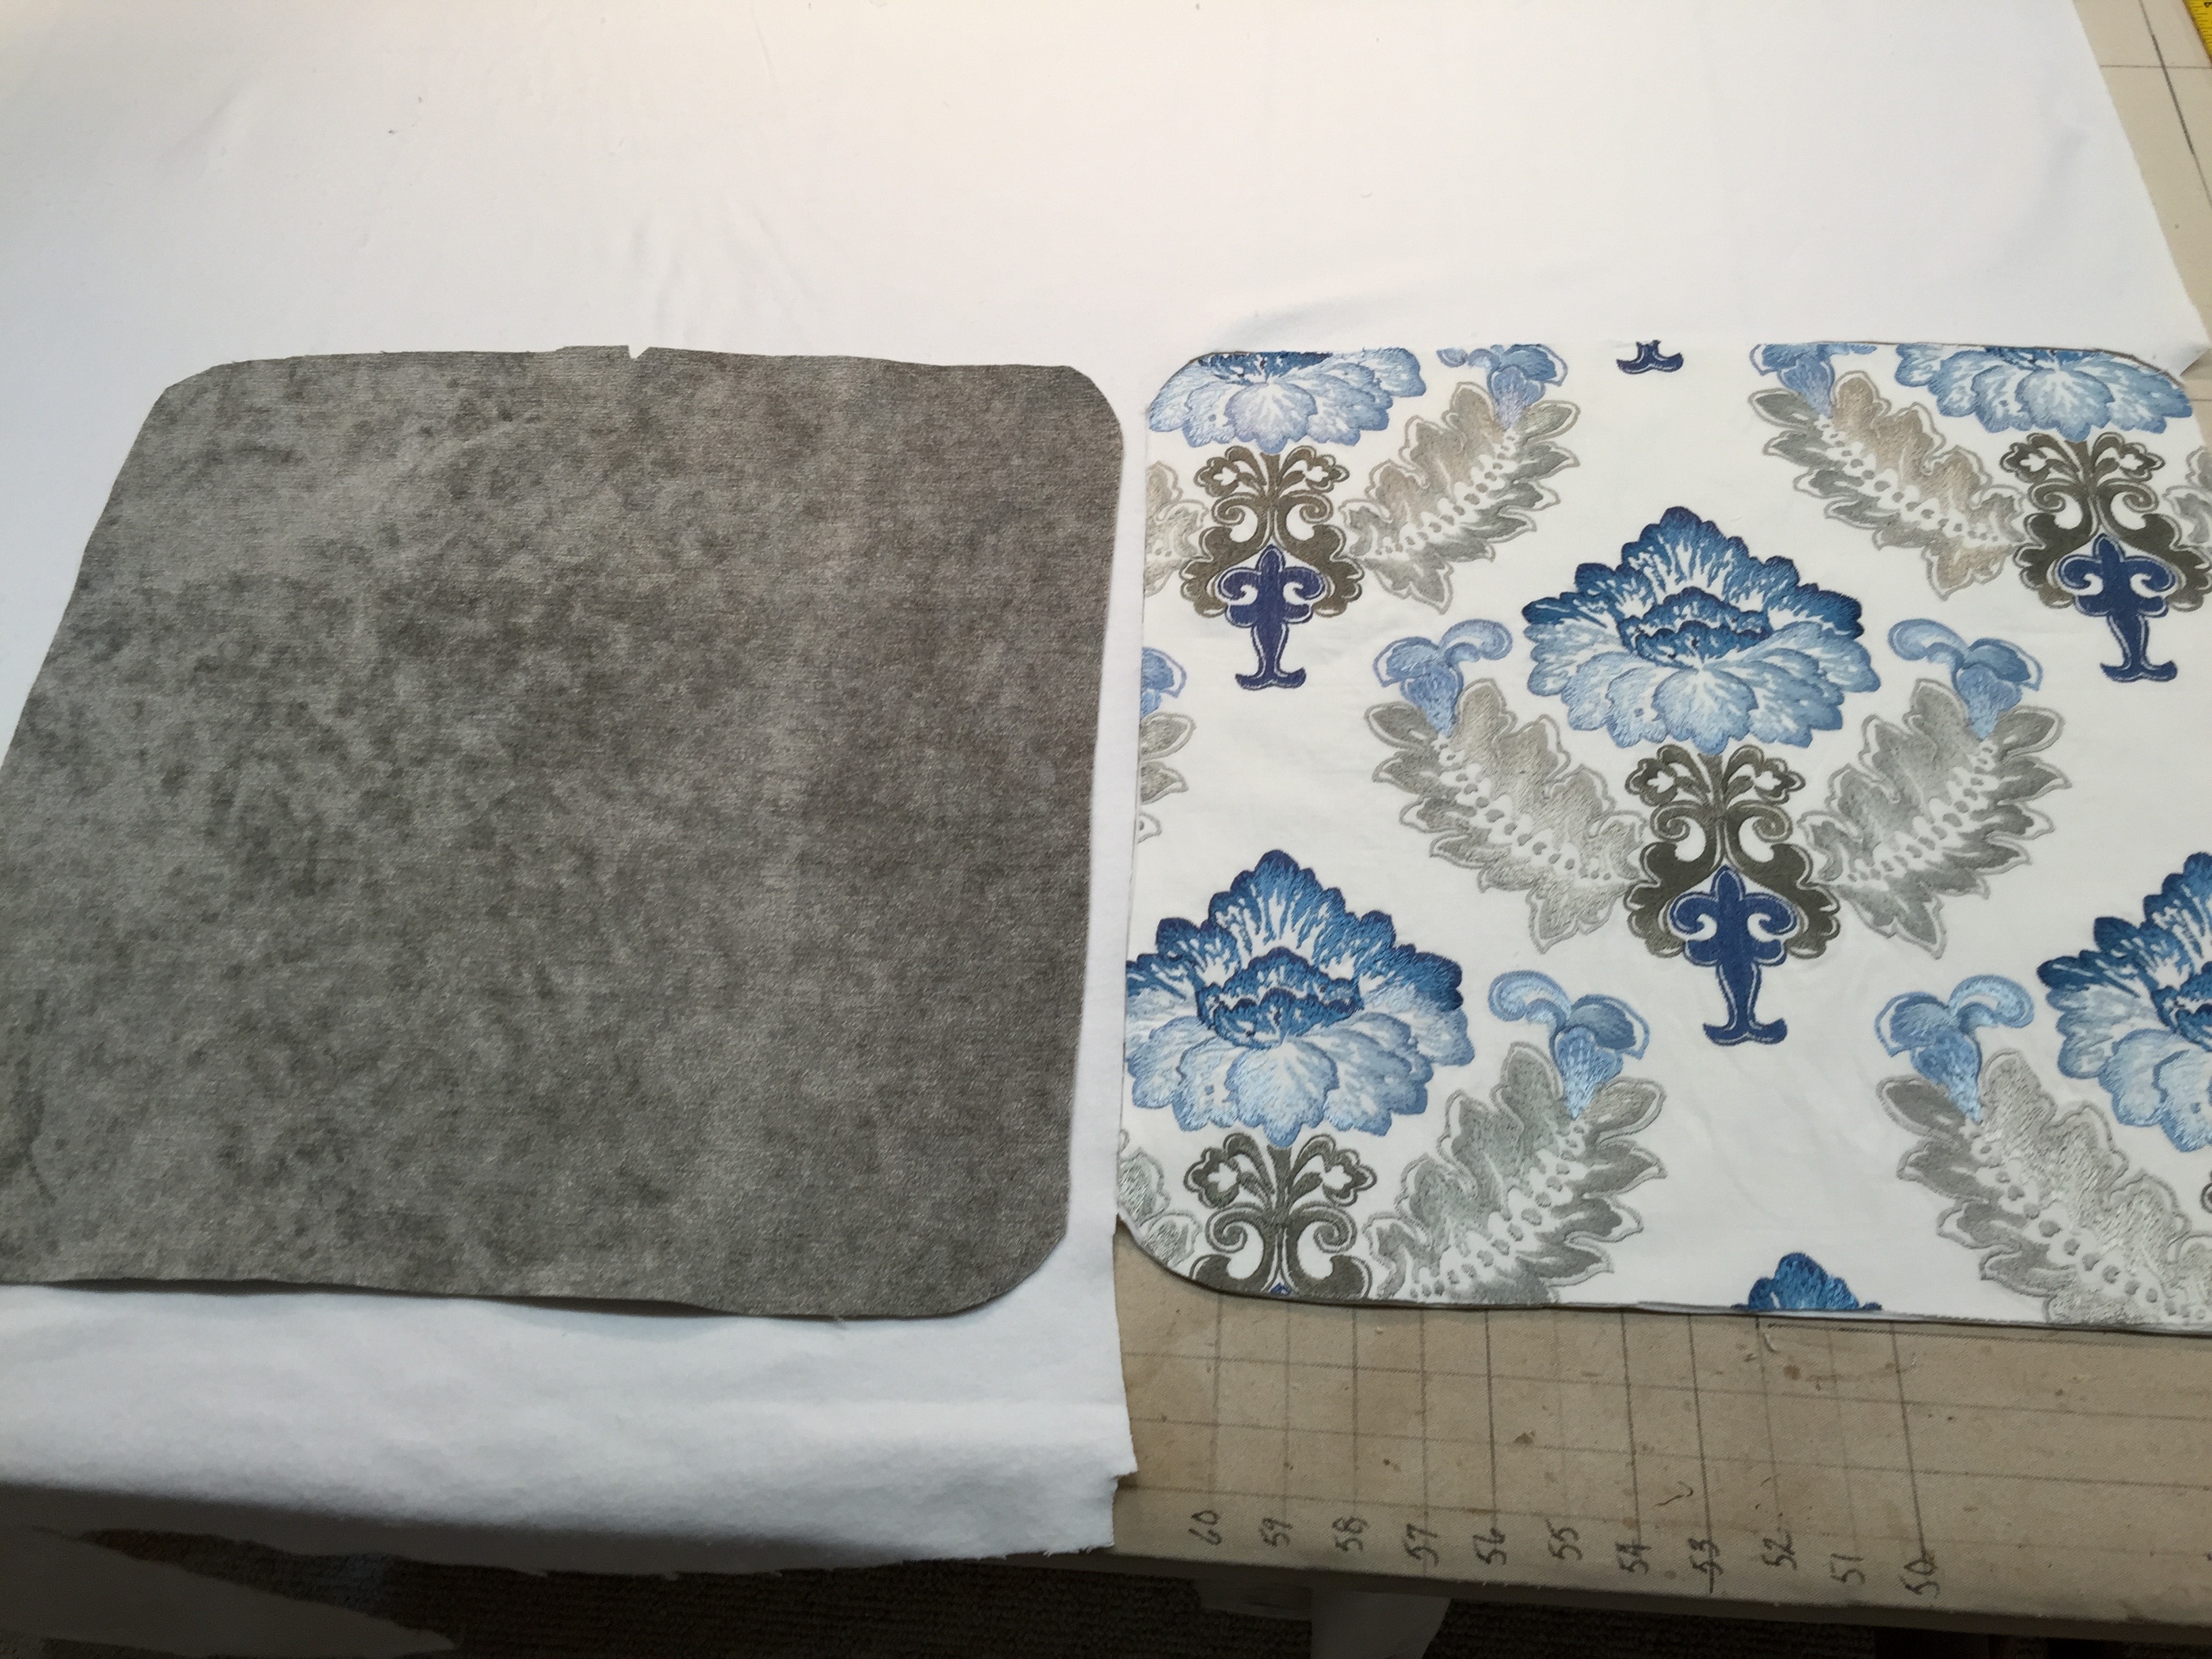
This gorgeous embroidered fabric by Stout Bros retails for $205 per yard so we needed to use it sparingly. Our solution – use this on the front and a solid gray velvet from Kravet on the back and for the welt.
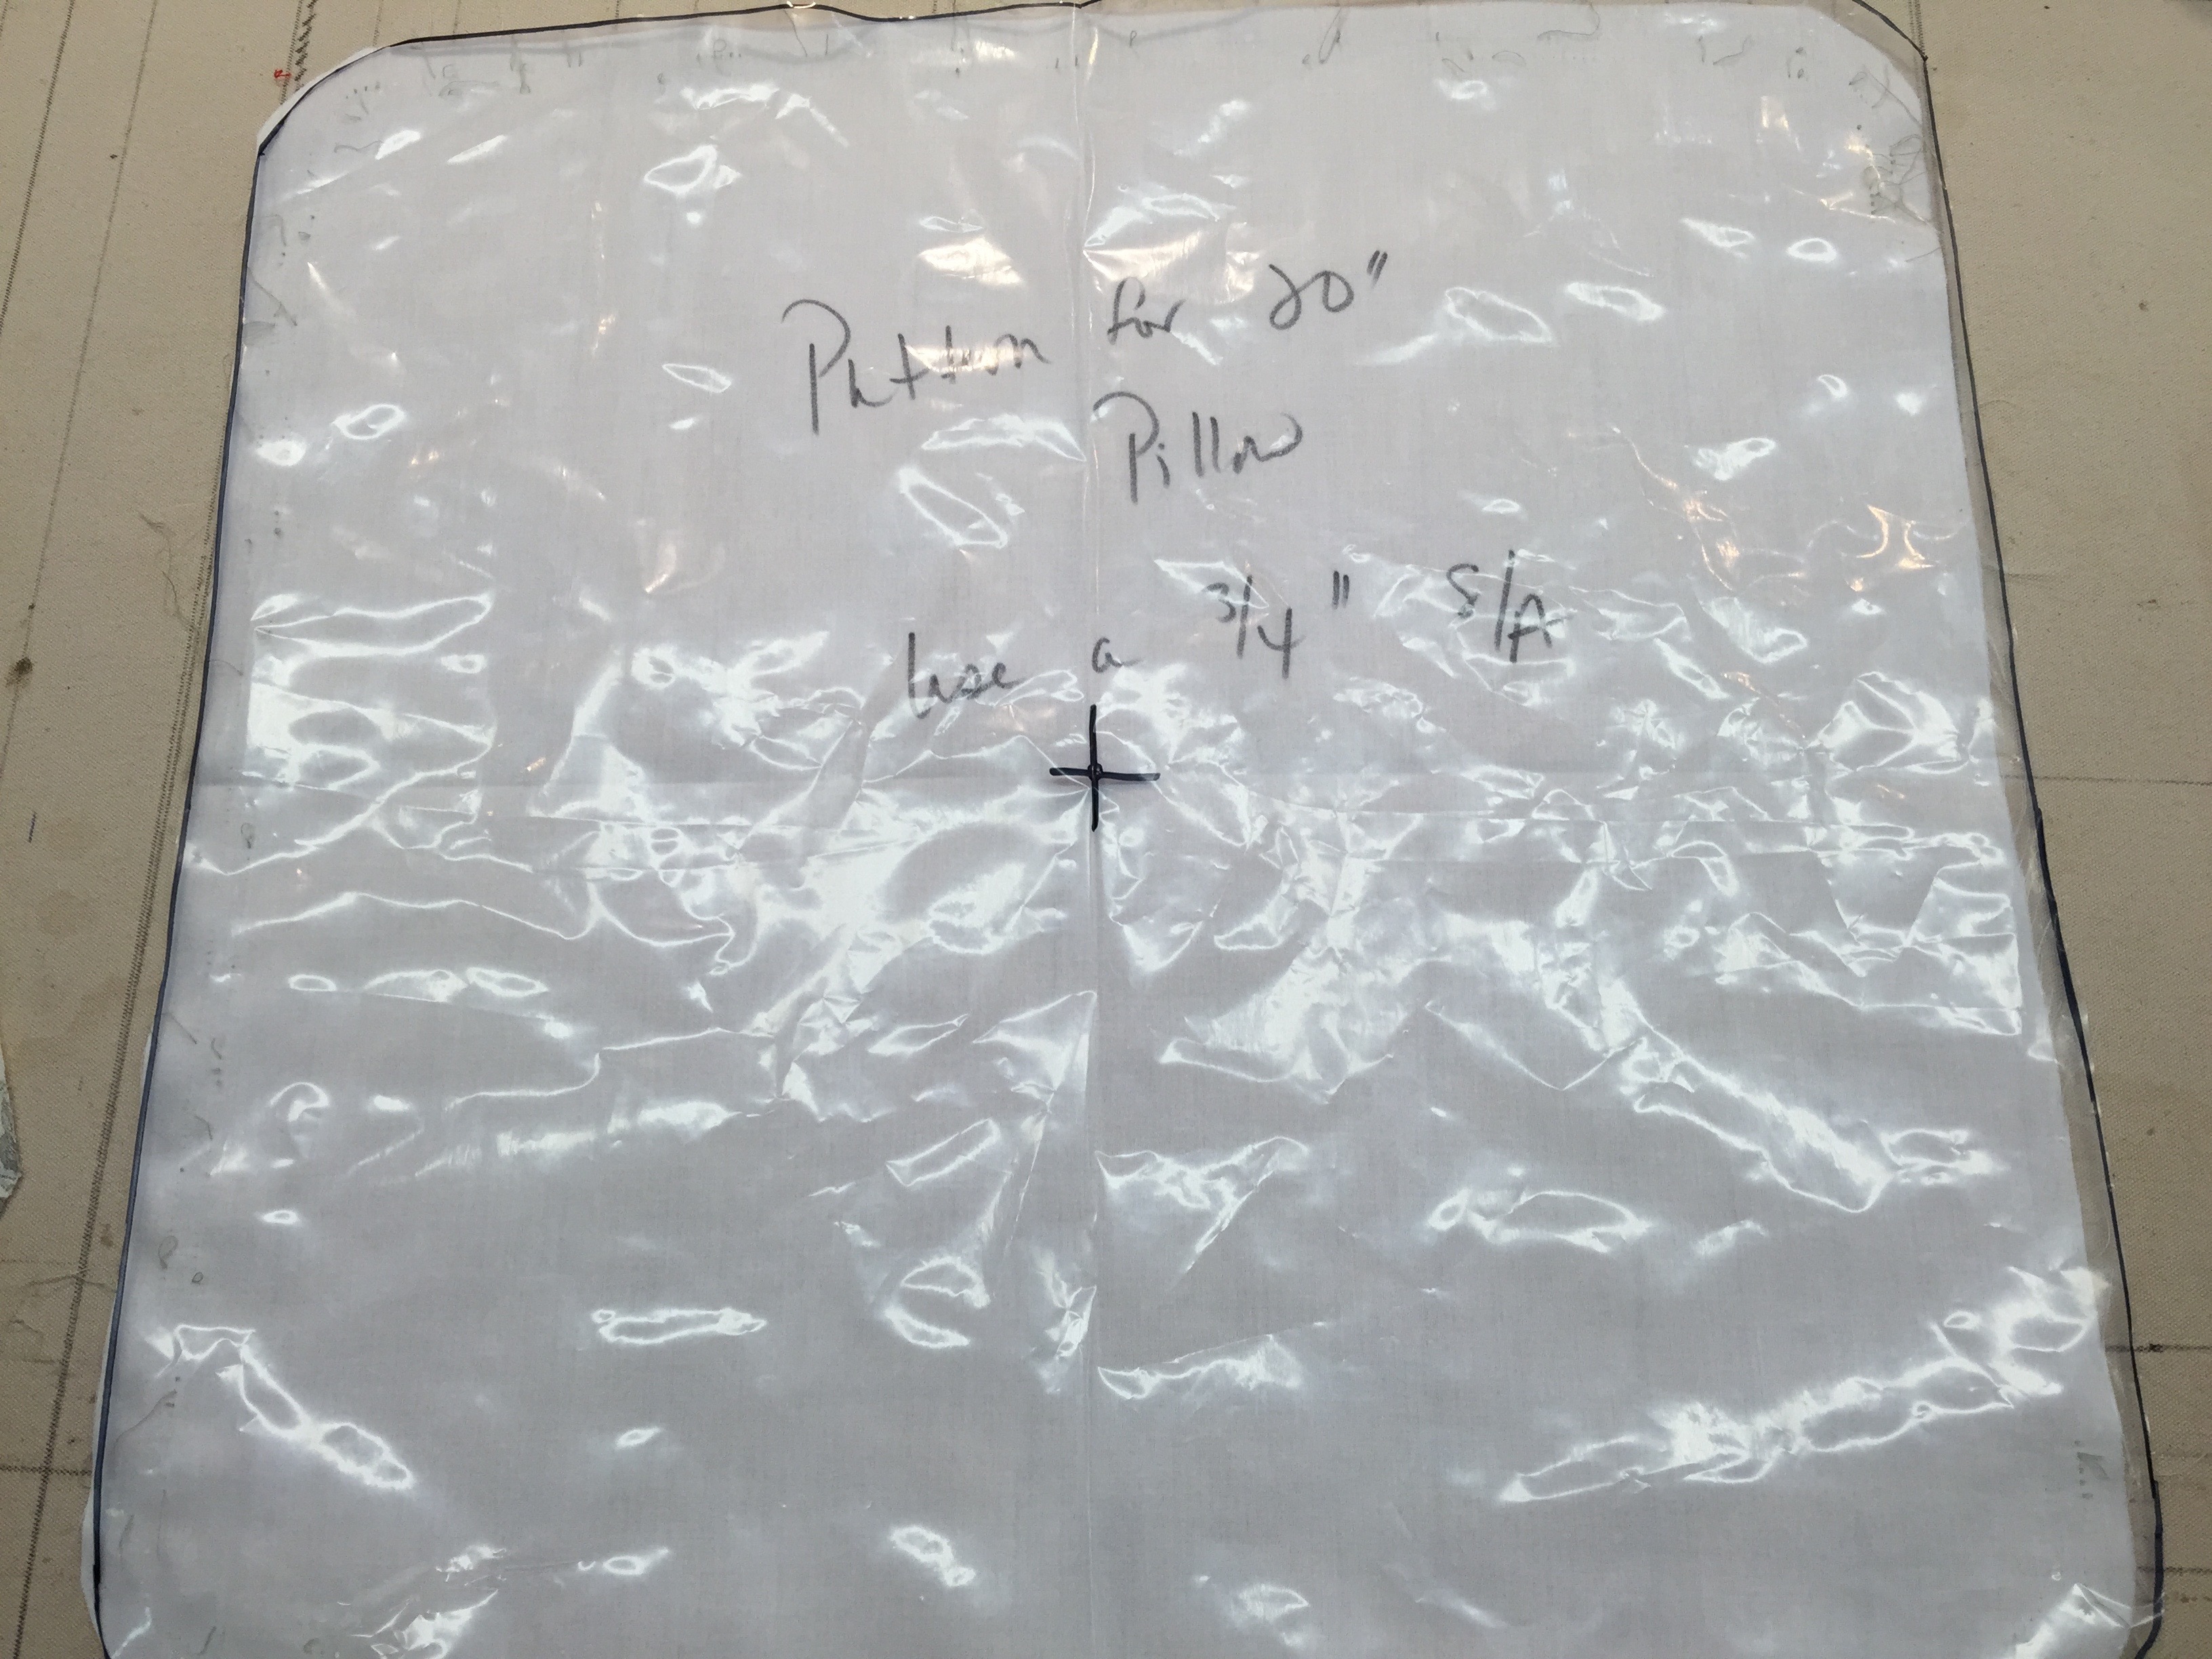
Although a pillow form may be labeled 20” x 20” we always check with a soft tape measure. Then we make a pattern from scrap lining, quickly stitch it and check the fit with the actual form.

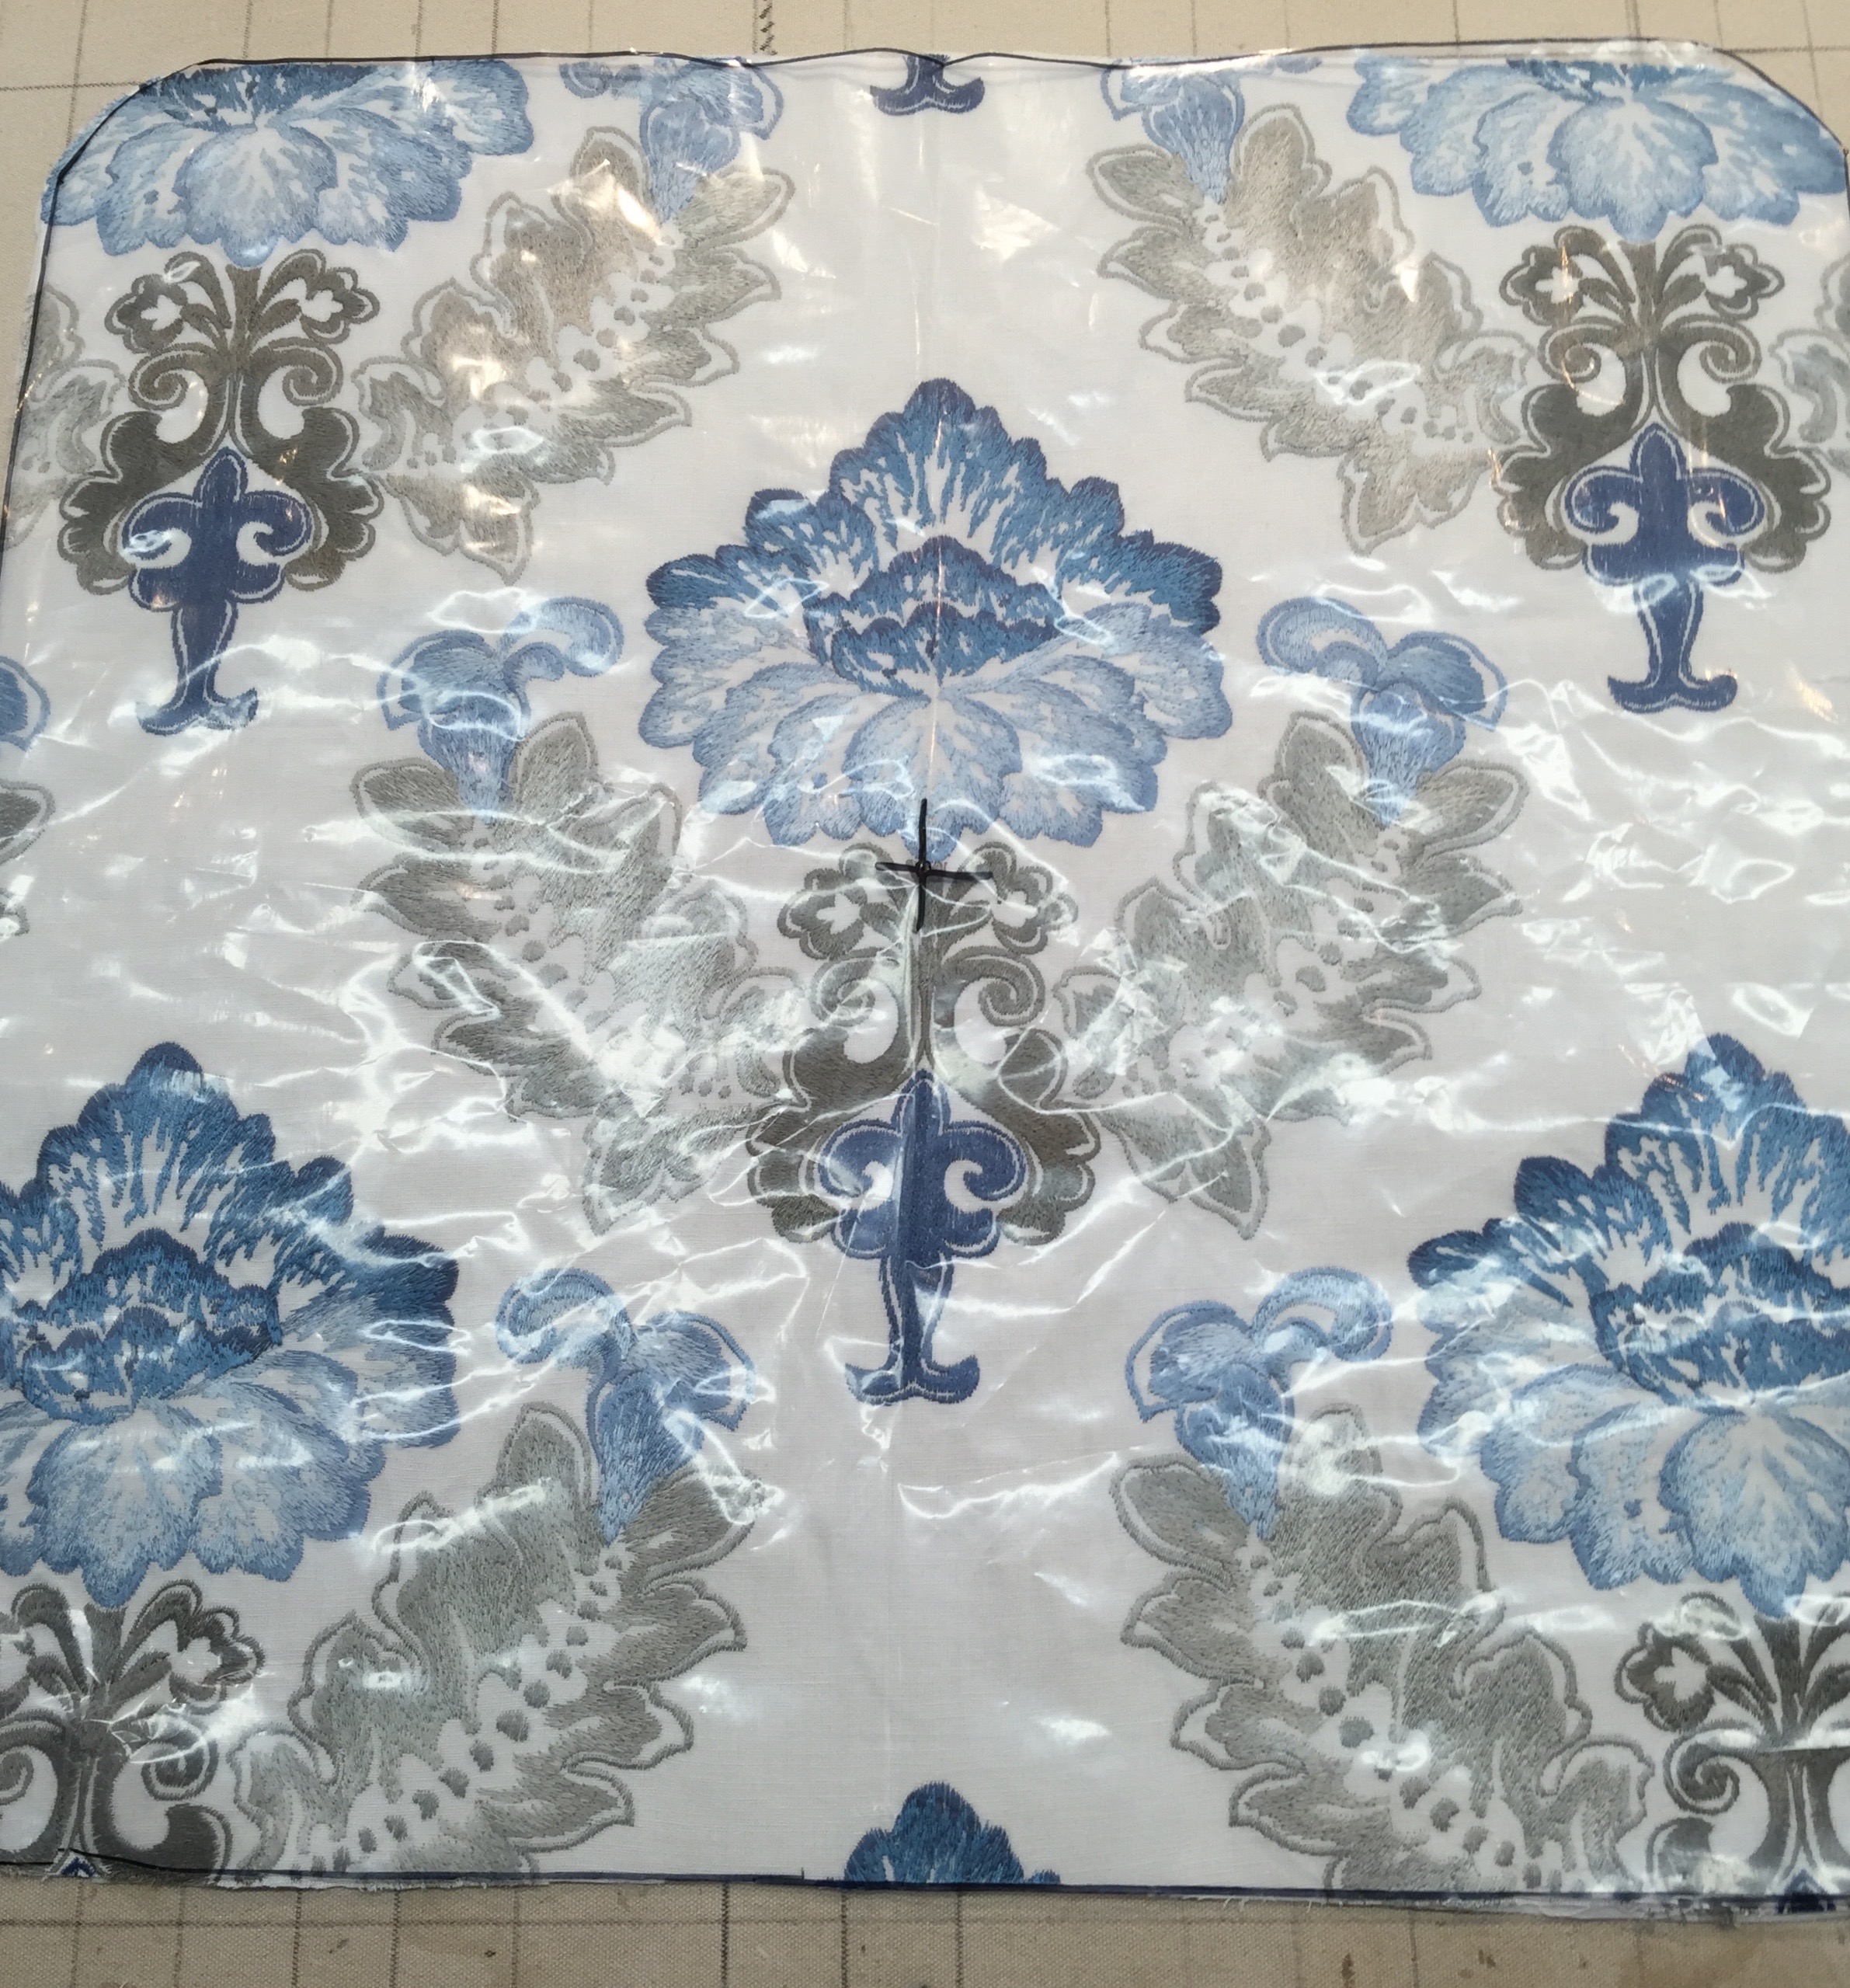
Once we know it’s a good fit we cut the pattern from clear plastic – mark the center and determine our pattern placement
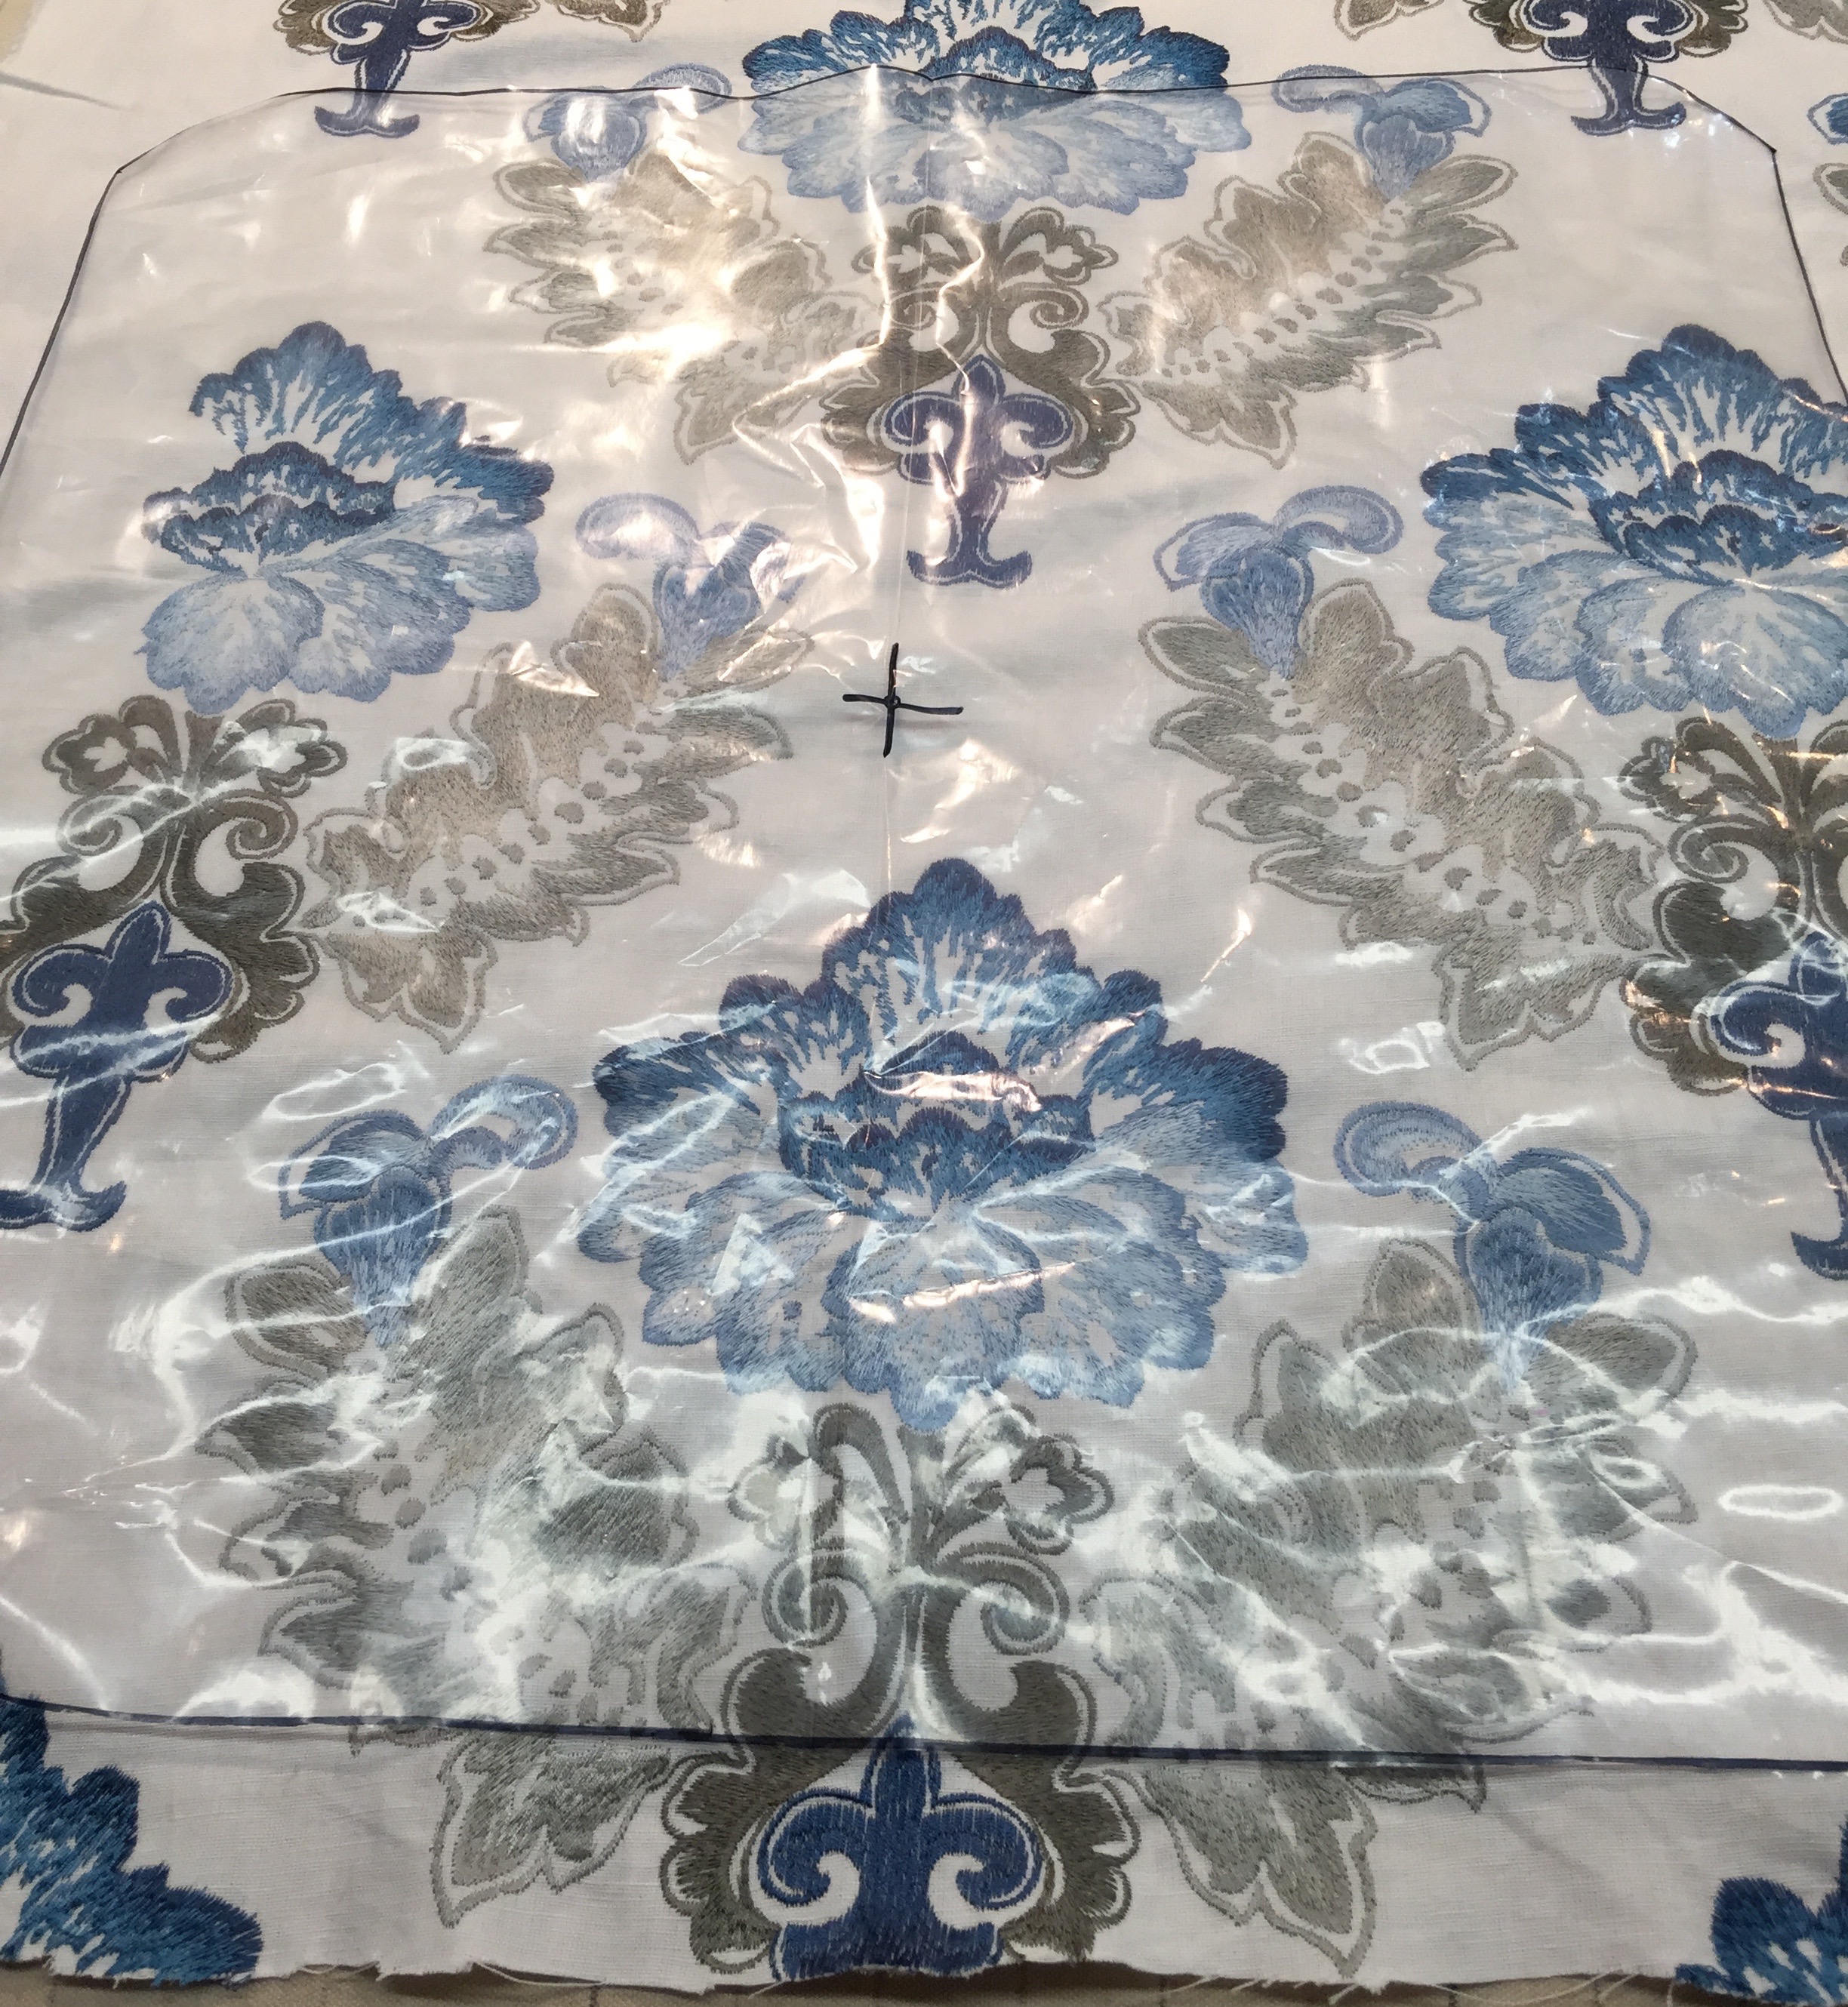
Here is what we decided on:
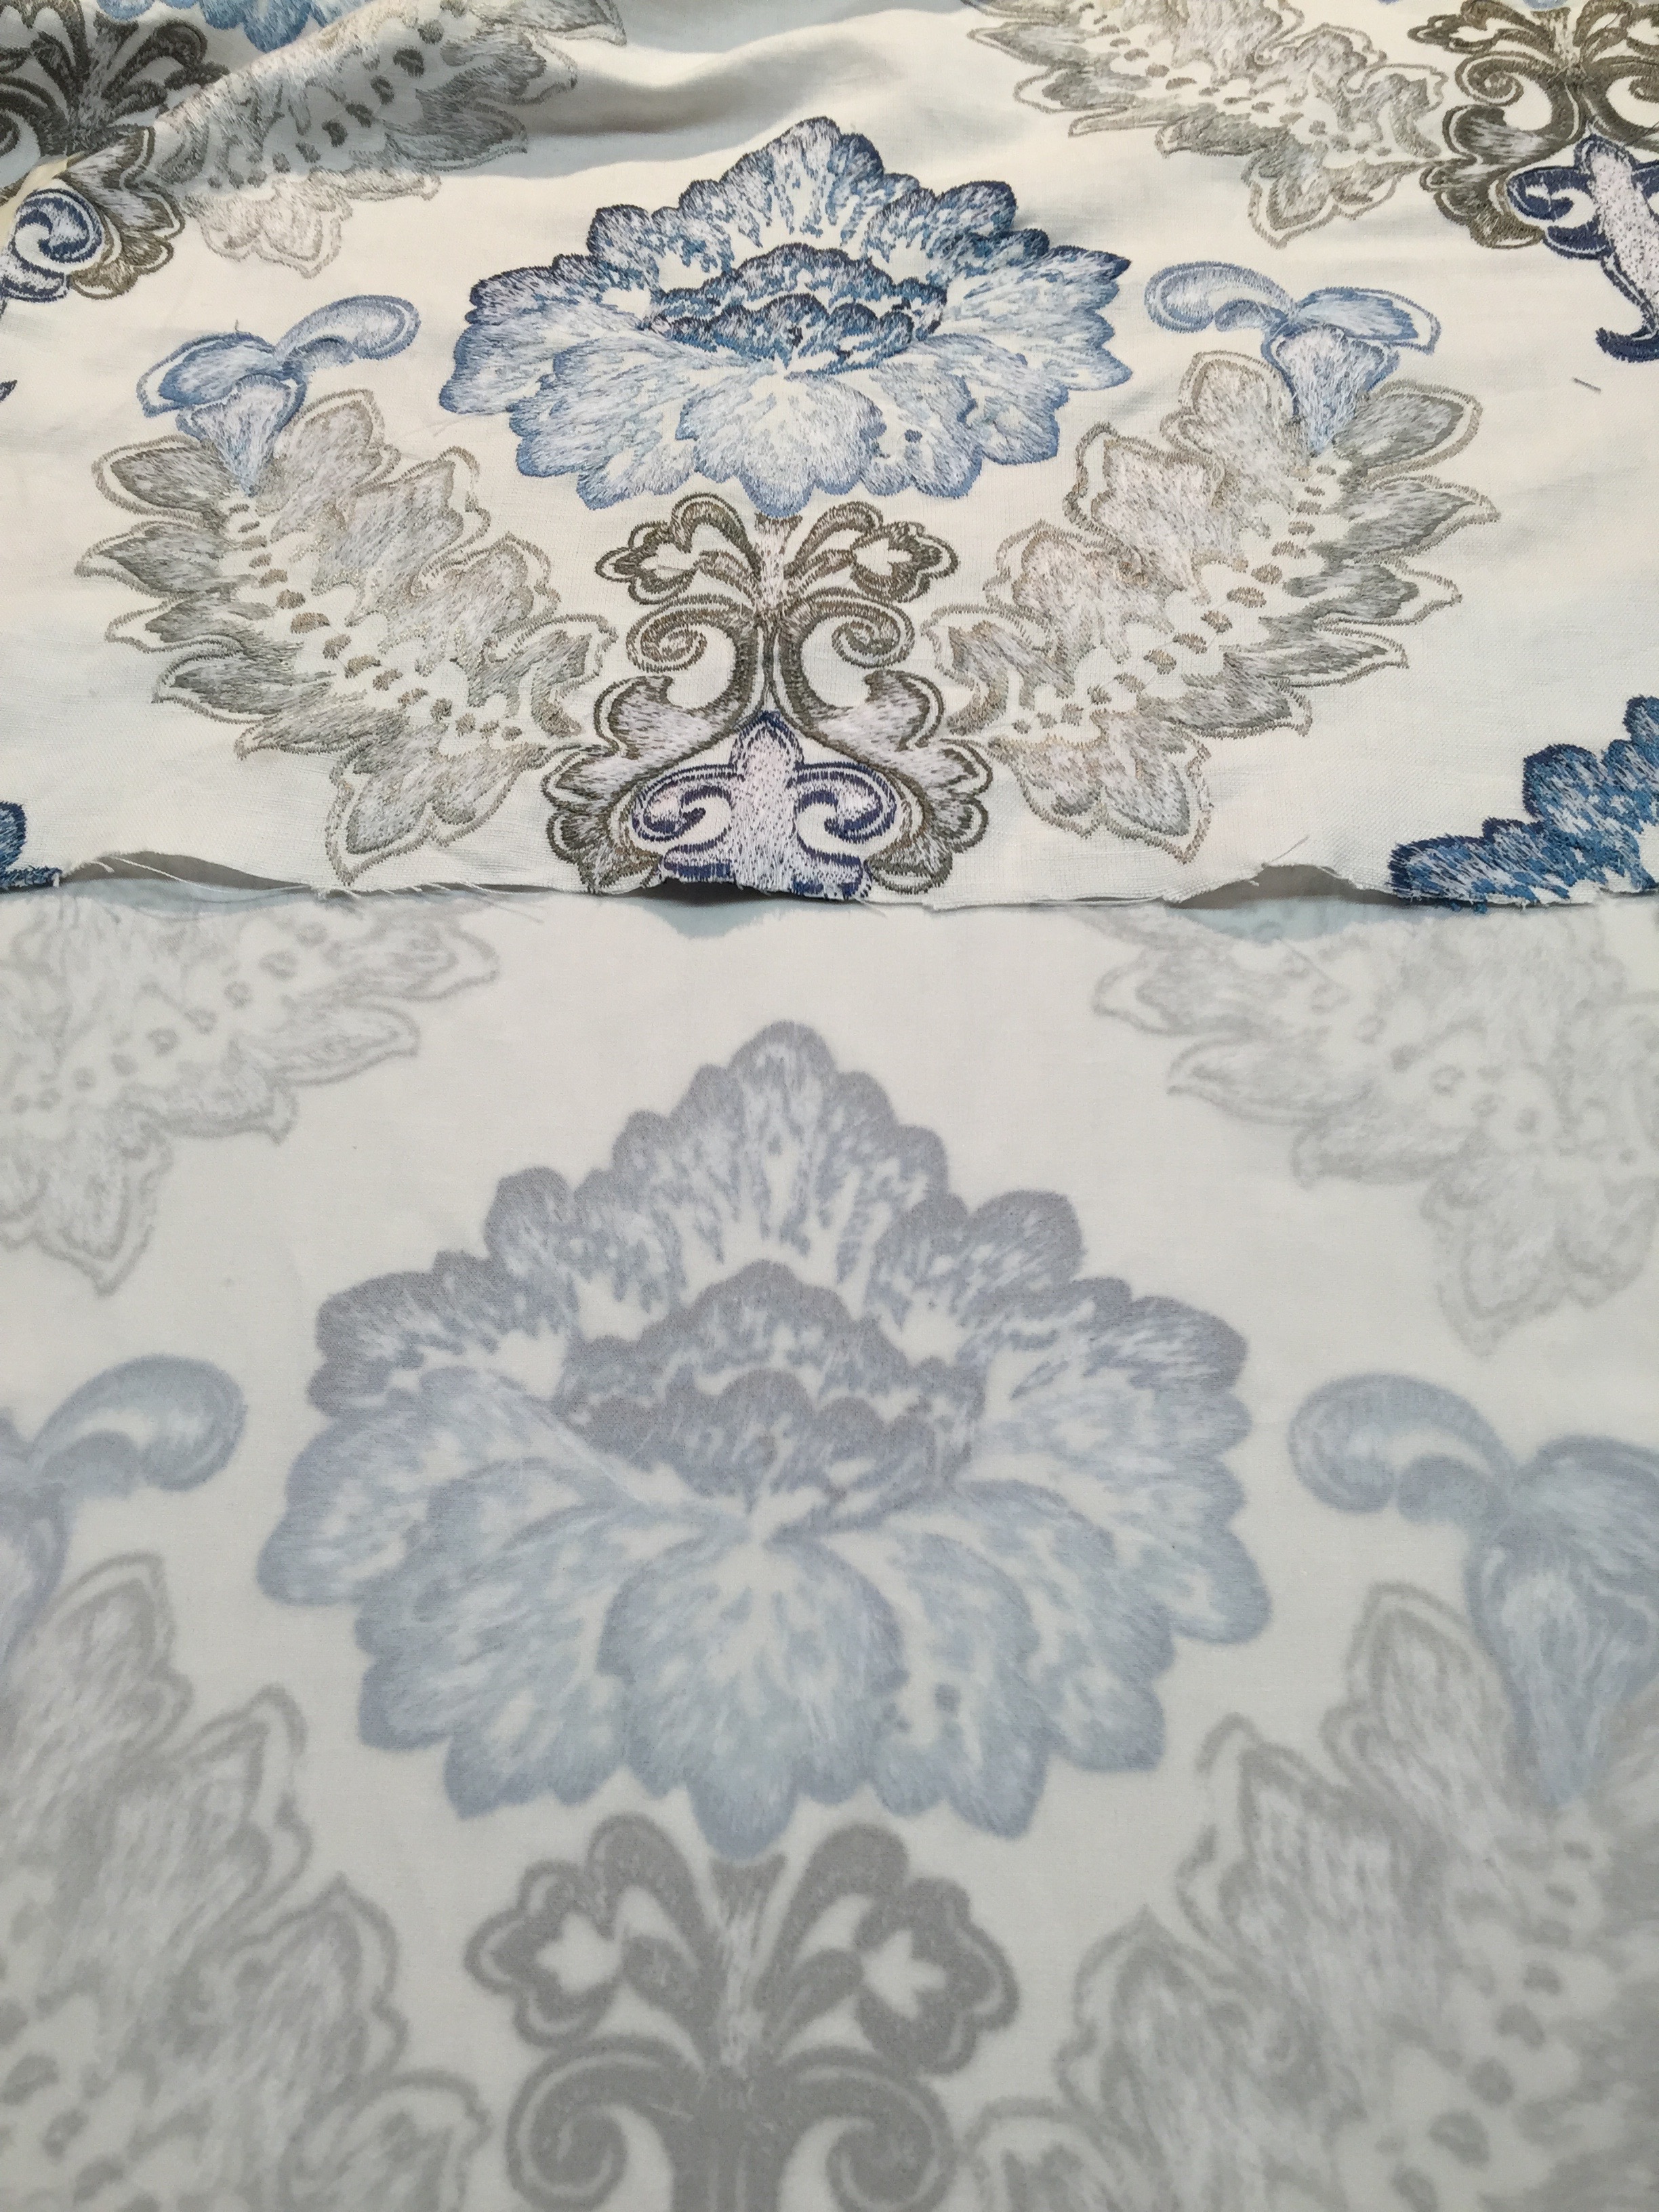
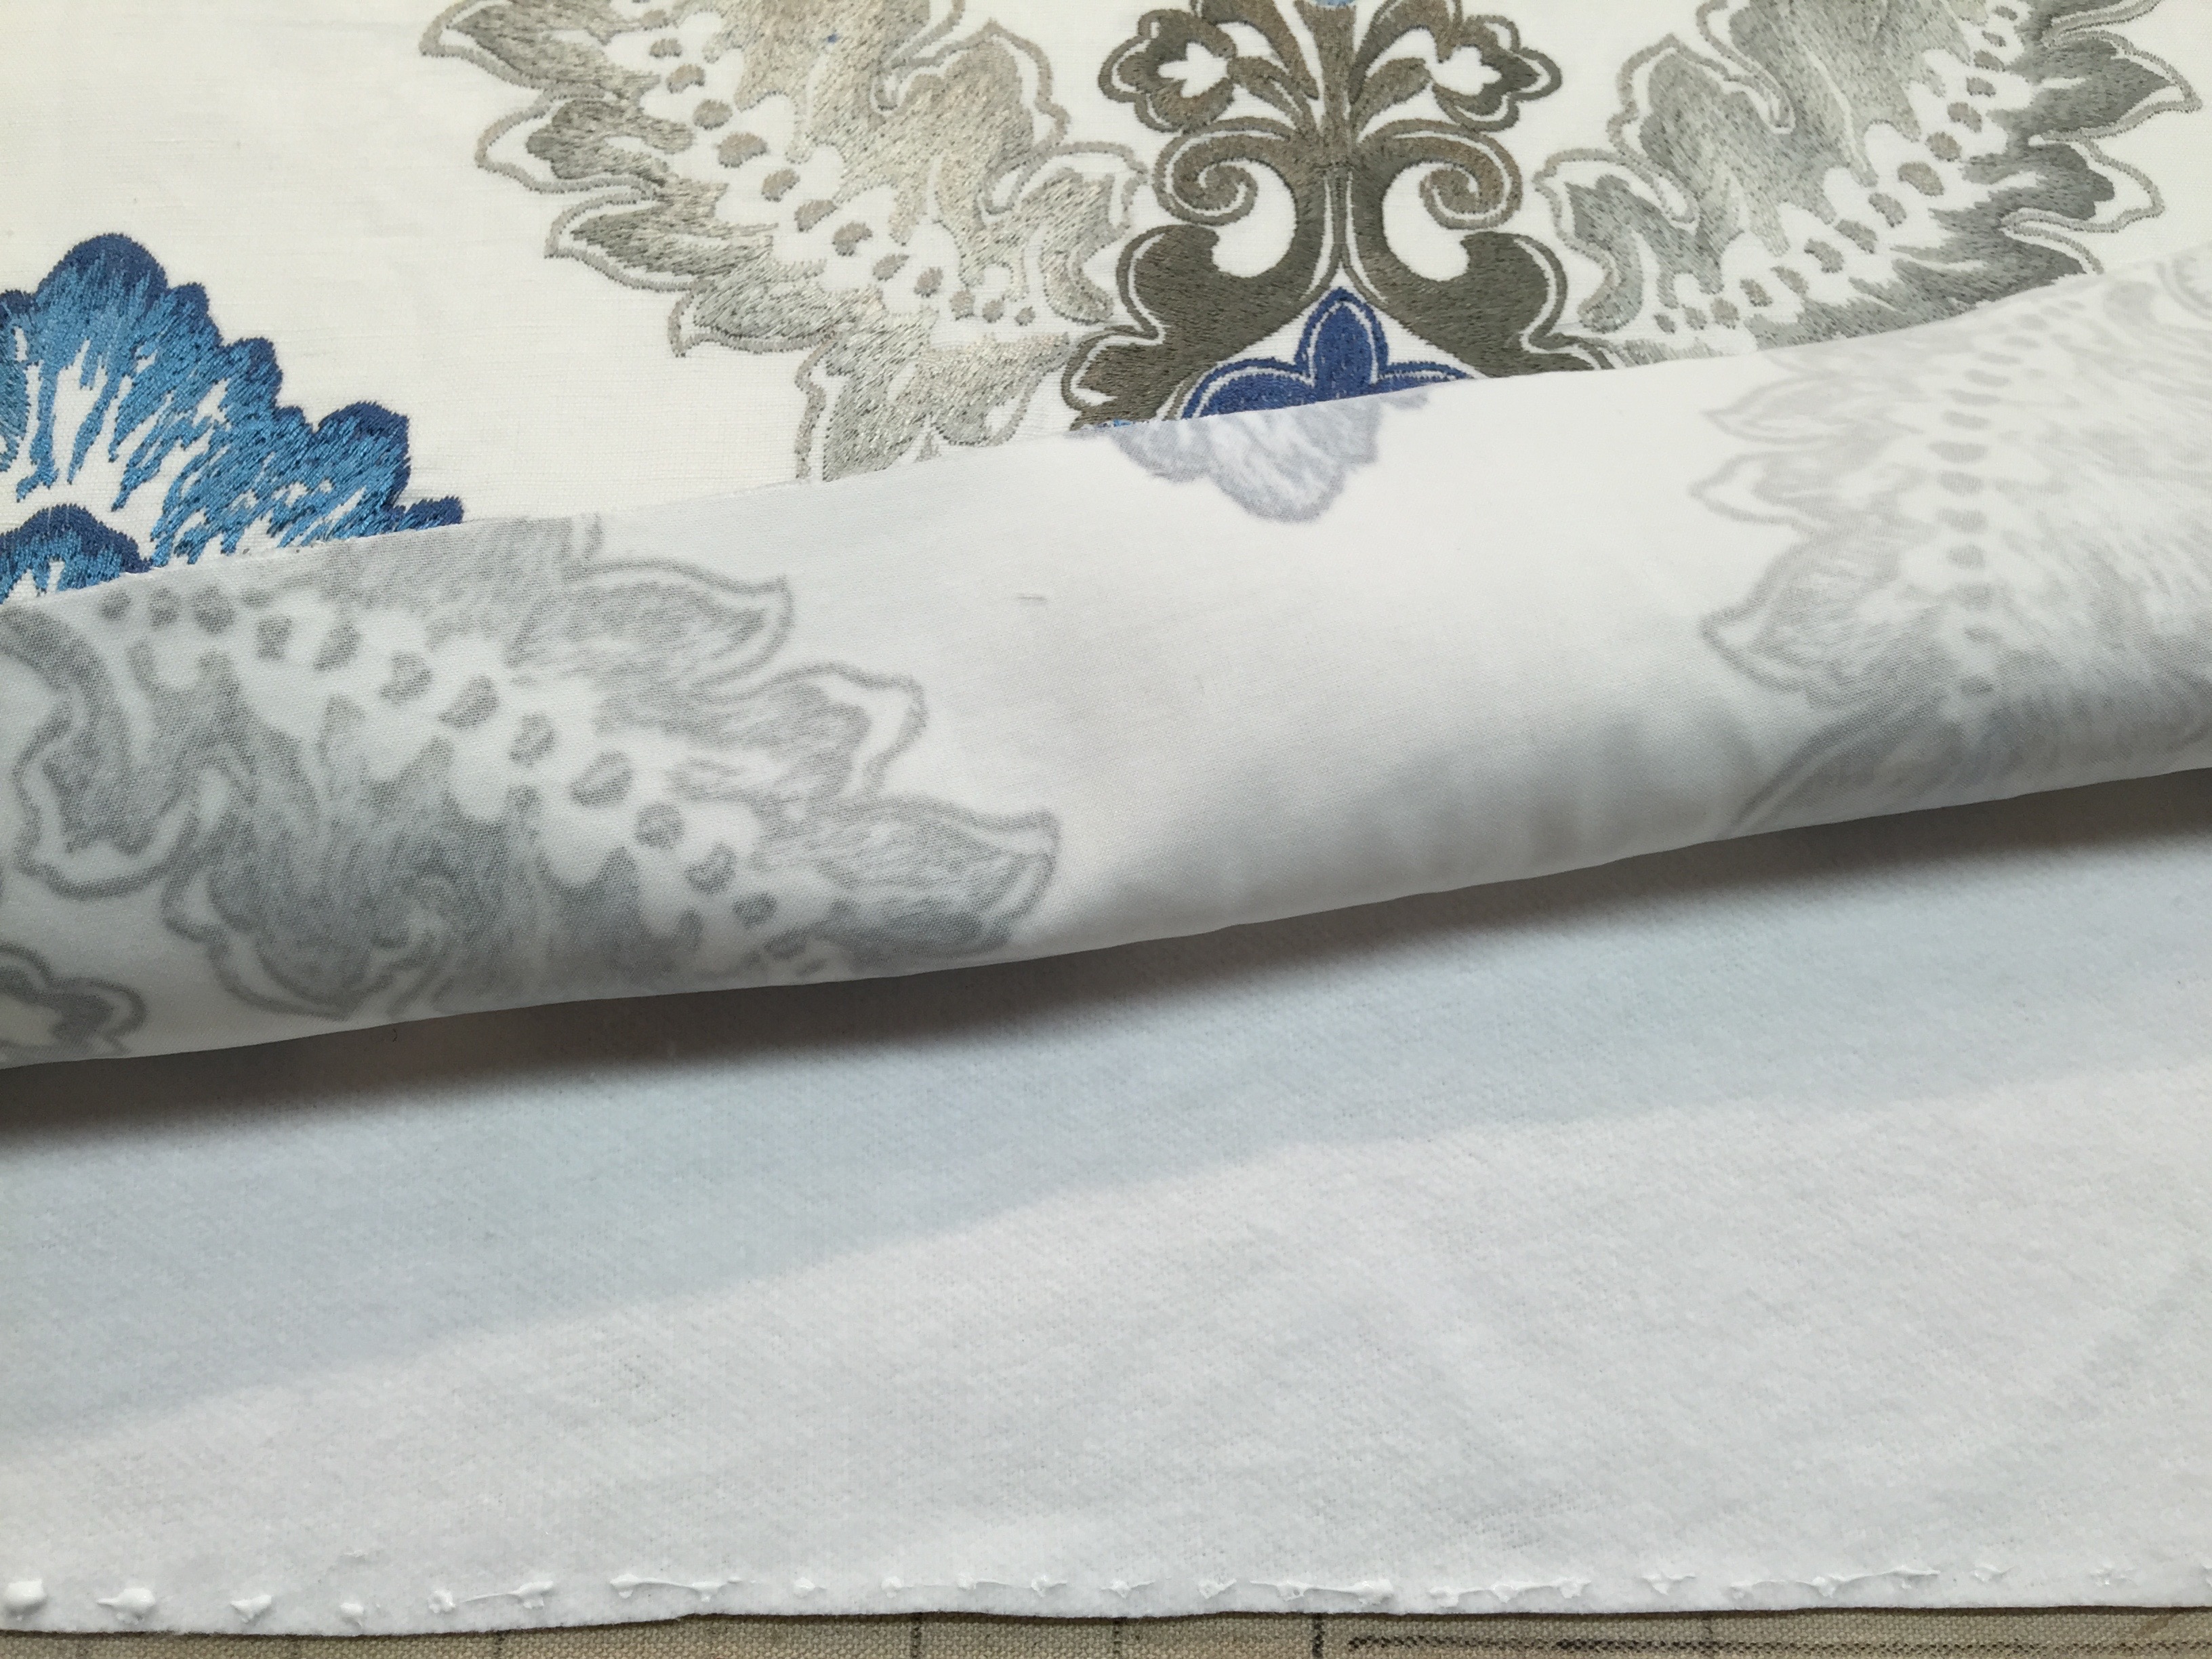
We wanted to minimize wrinkling and stretching on this embroidered linen so we applied a stabilizer to the back of the fabric. The pillow front on the top is not stabilized – the one on the bottom has been.
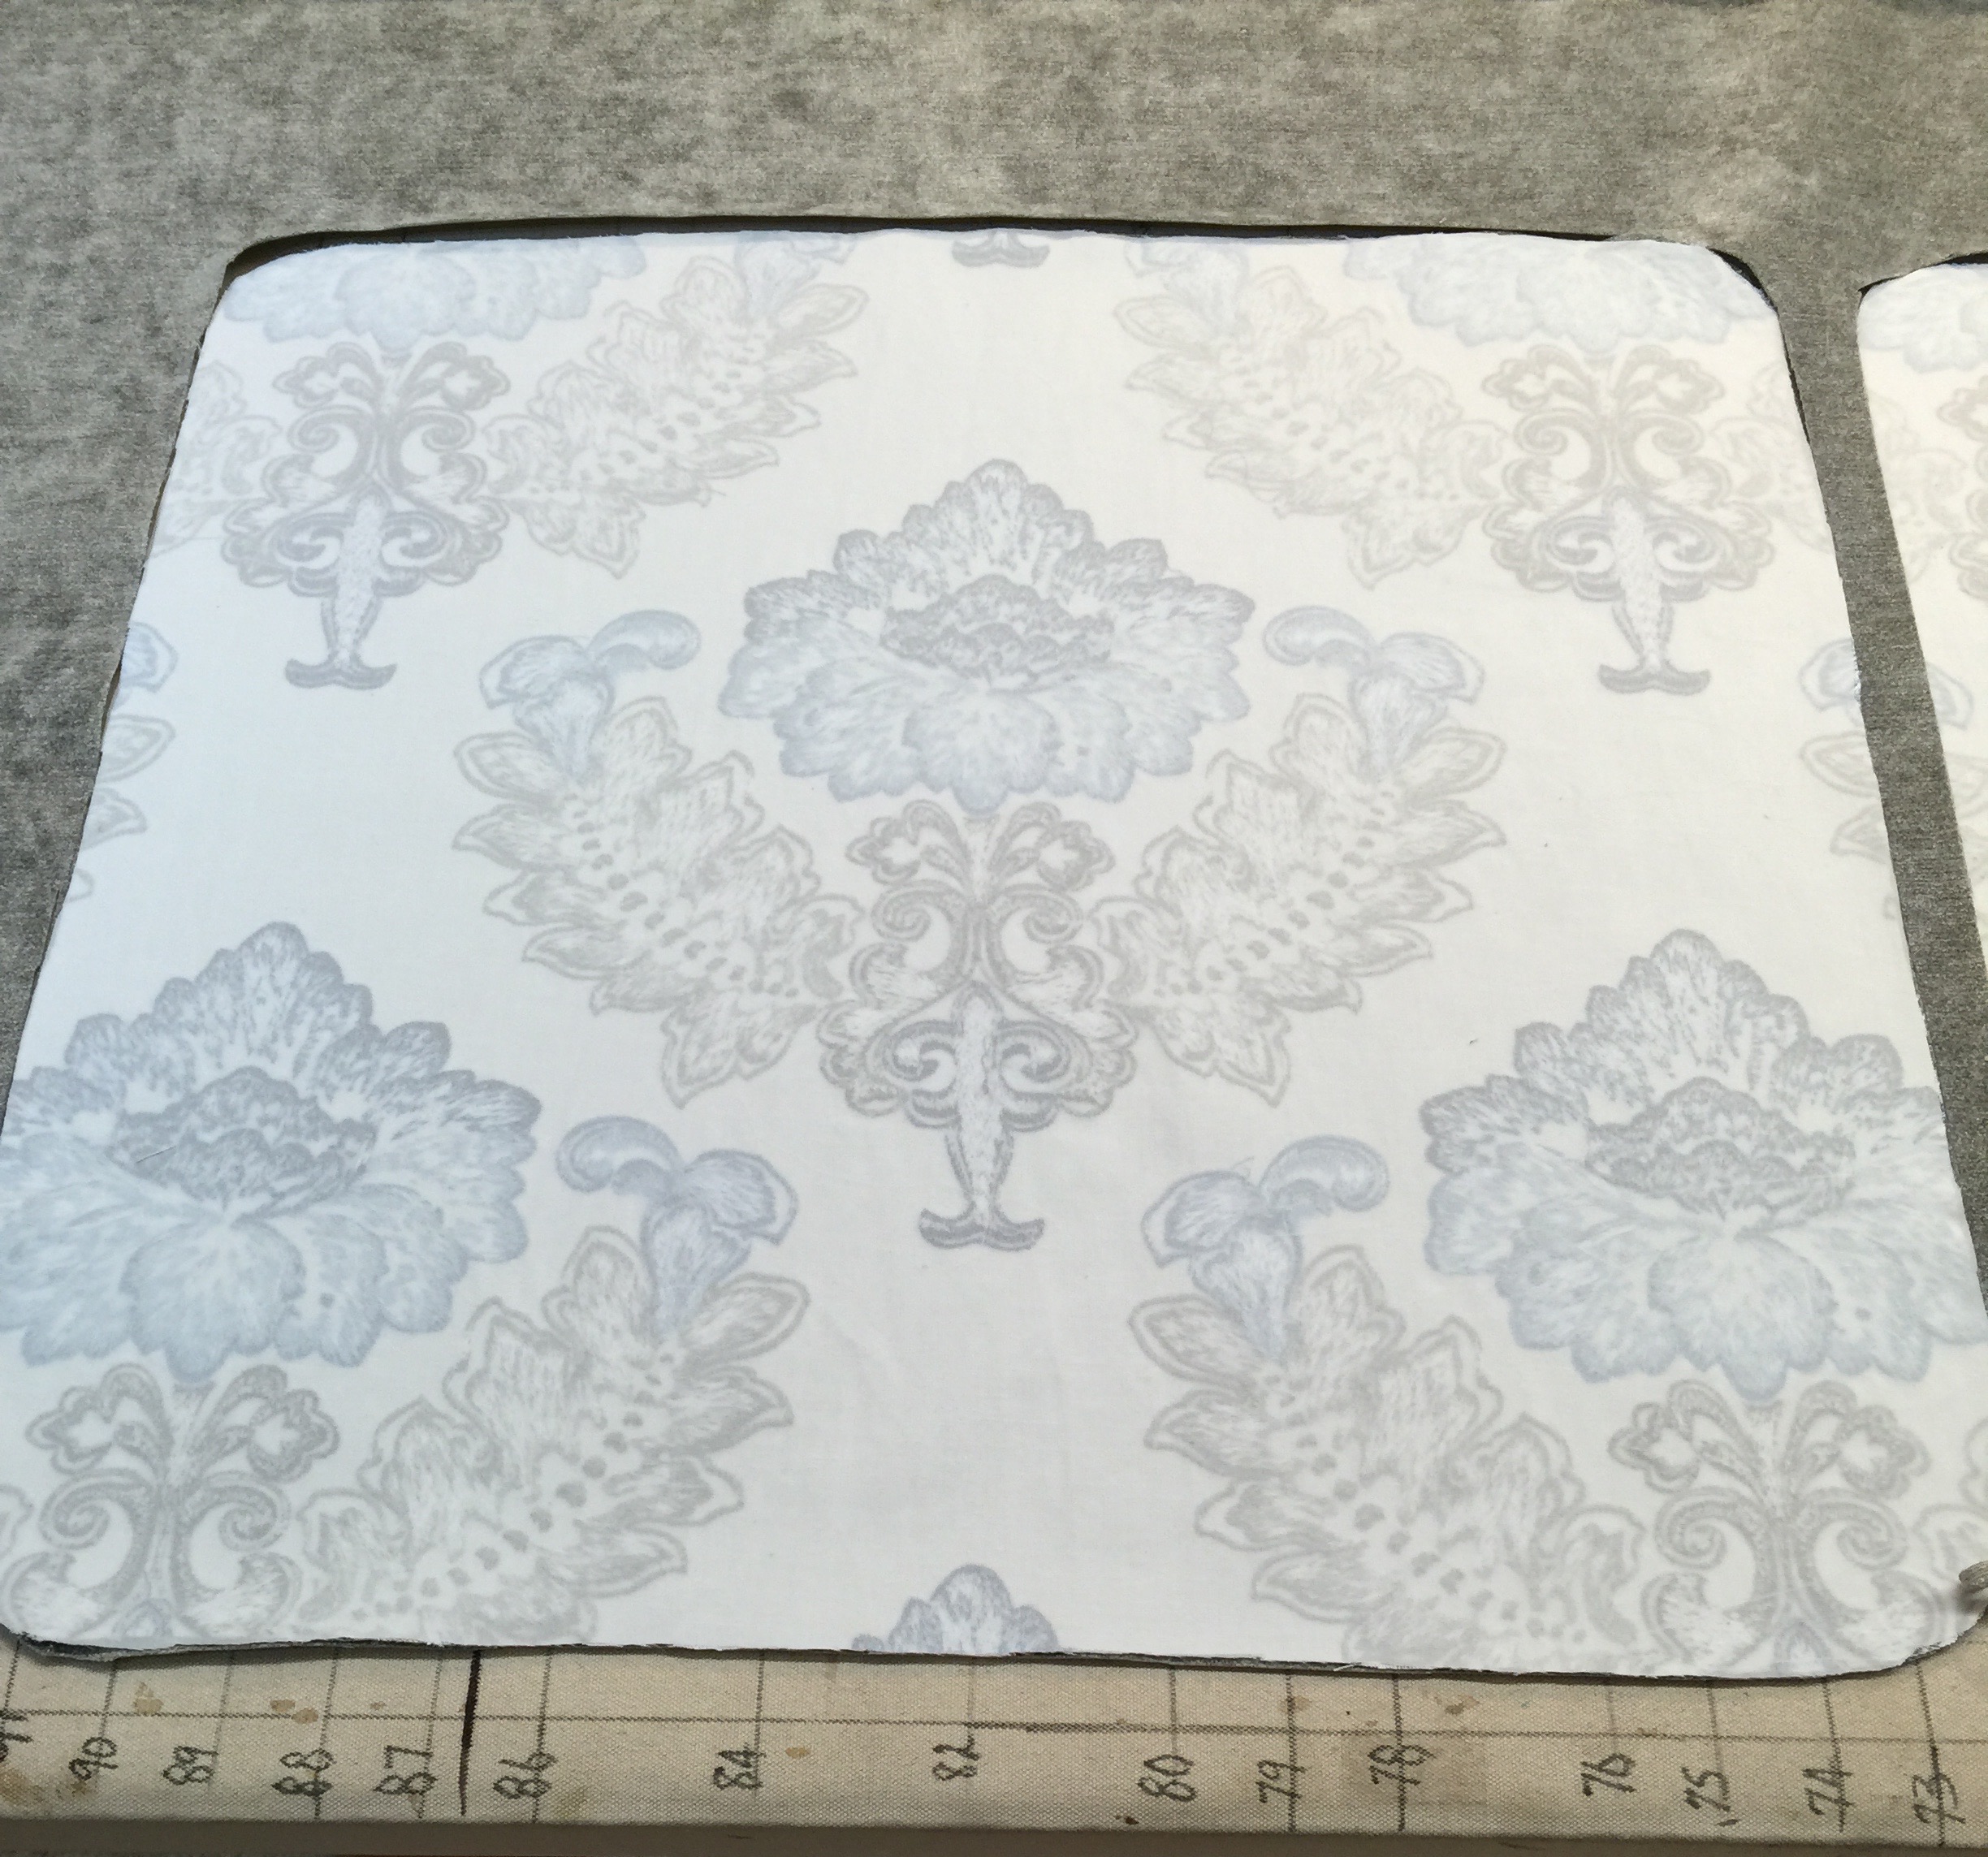
The next step is to cut the pillow backs from the solid velvet – keeping in mind that velvet has a nap so we must cut everything in the same direction.
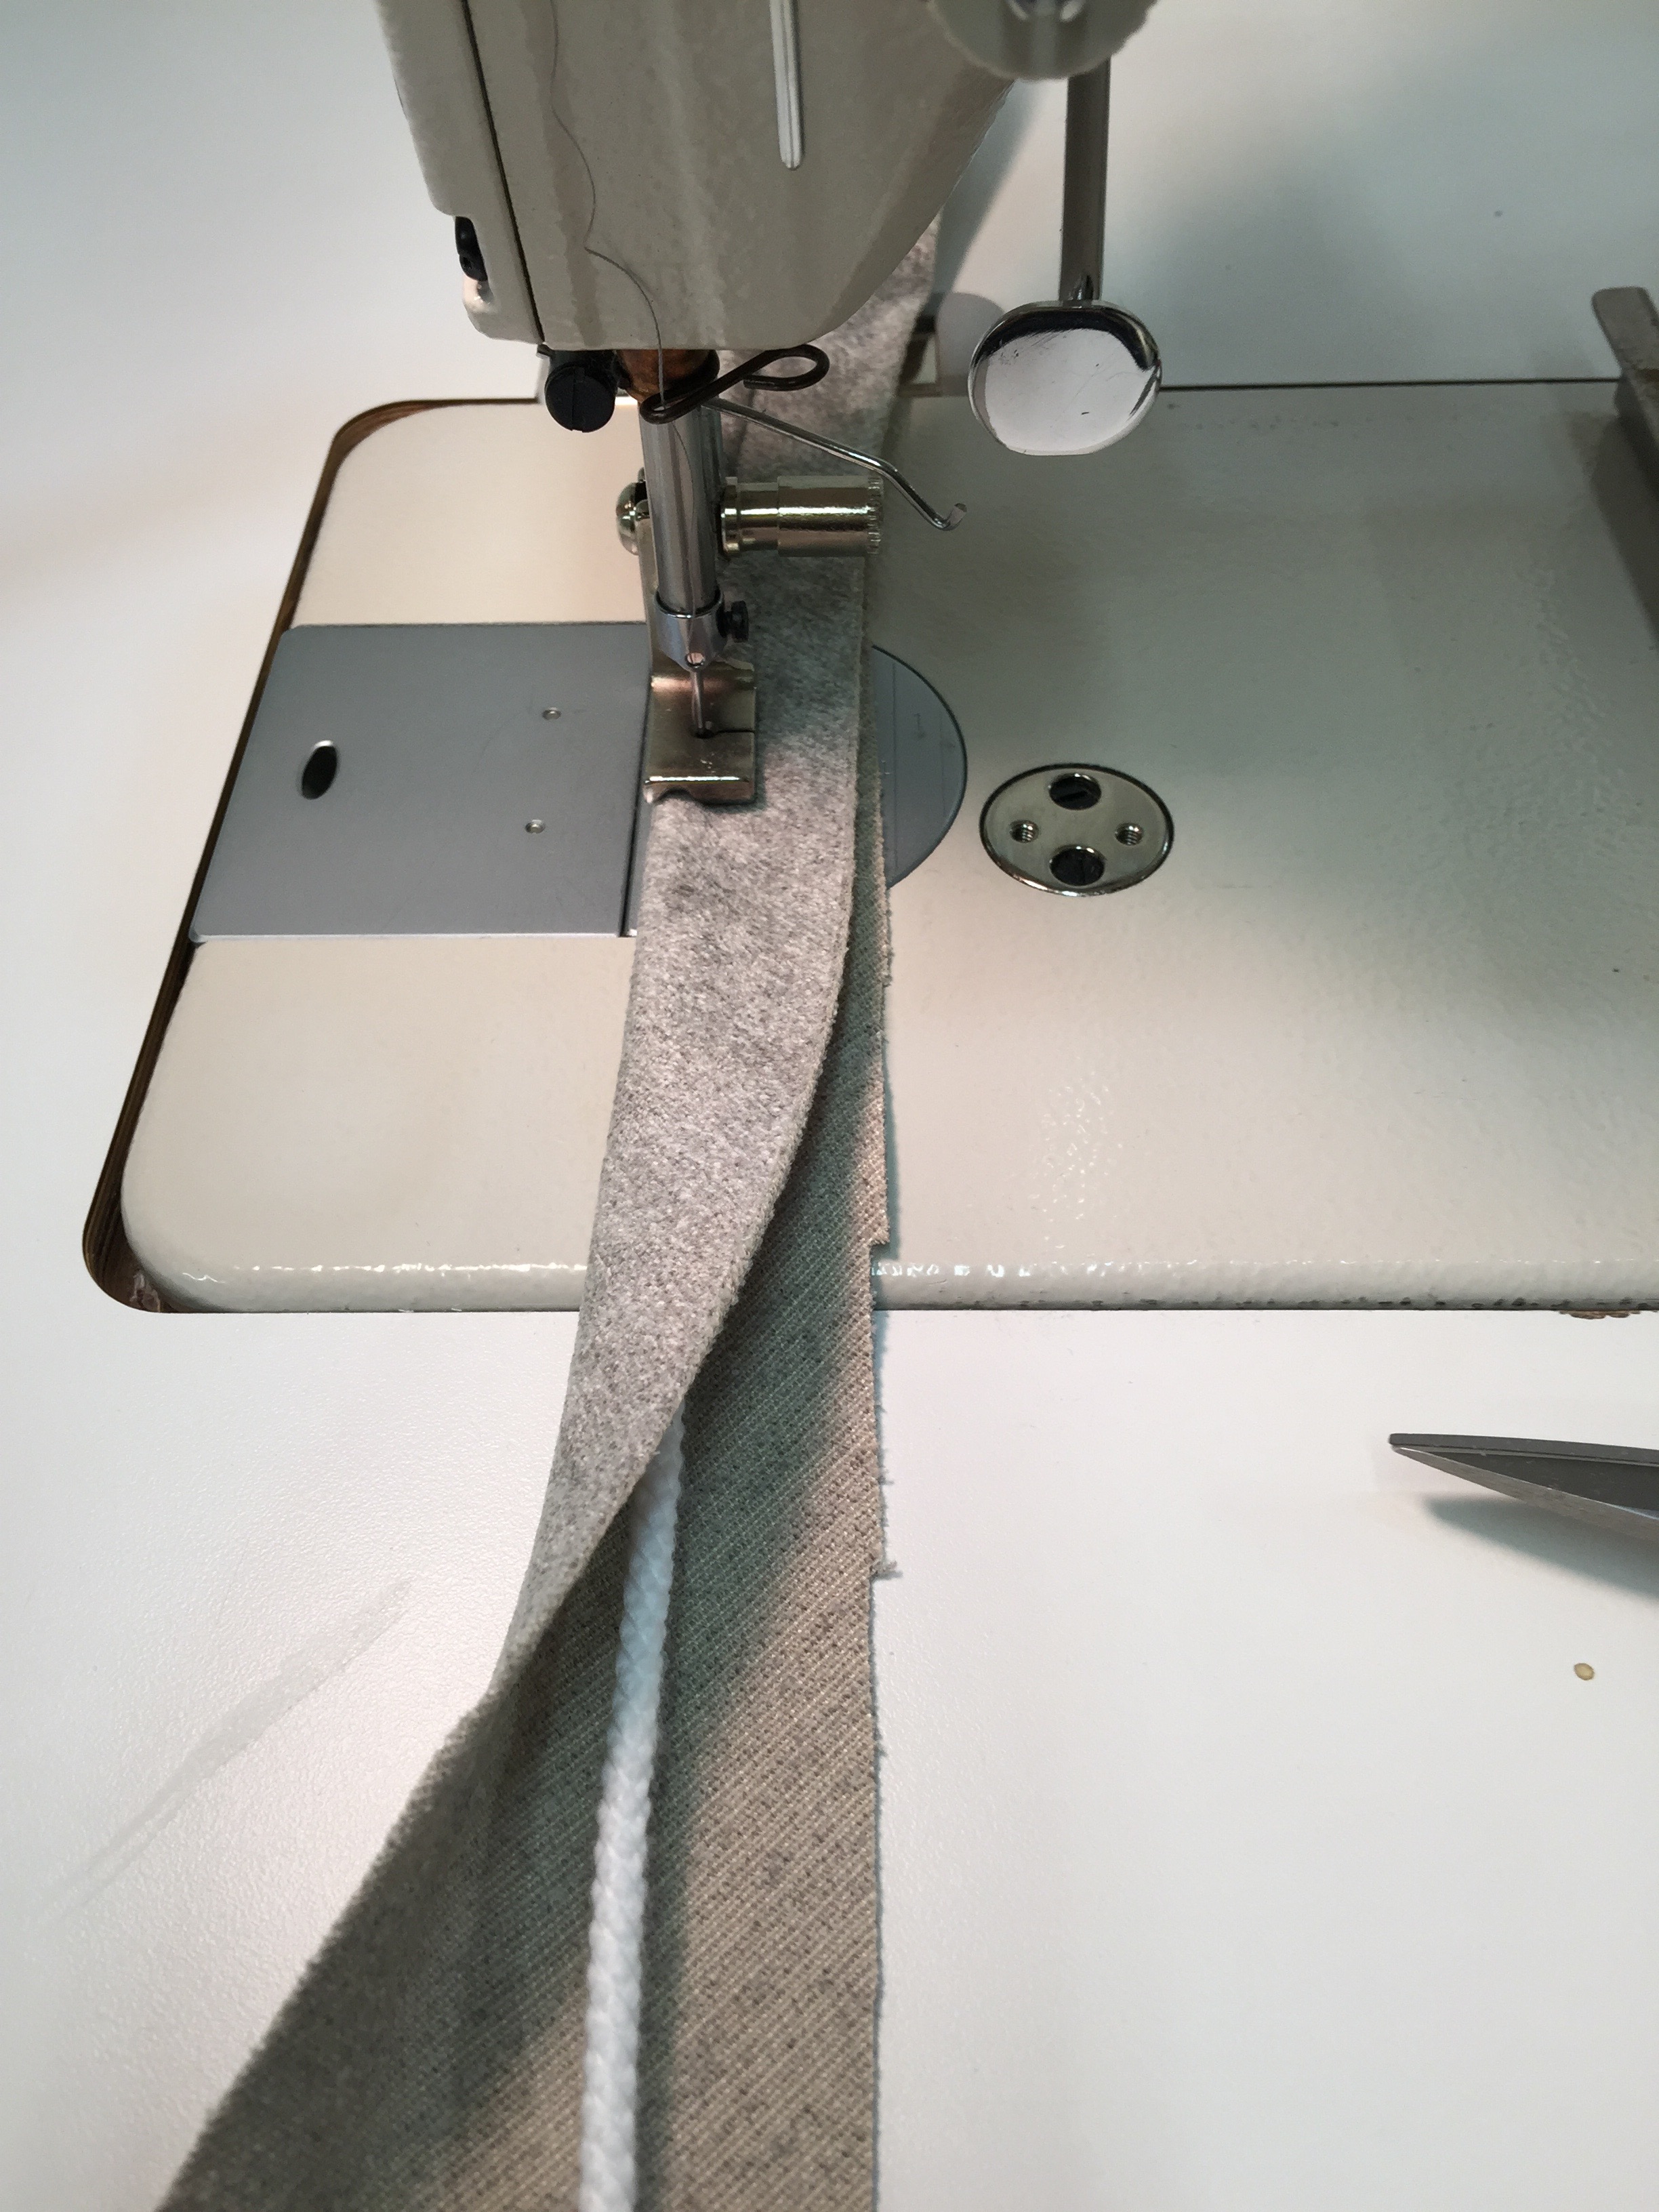
Now we mark and cut bias strips for the welt. We want these as long as we can get them to avoid seams, if possible. Cutting on the bias allows the welt to turn and curve easily around the edges of the pillow – especially using heavy velvet.
Once the bias strips are cut we take it to the machine and stitch the long lengths around the cord using a special foot which allows to get a nice tight fit.
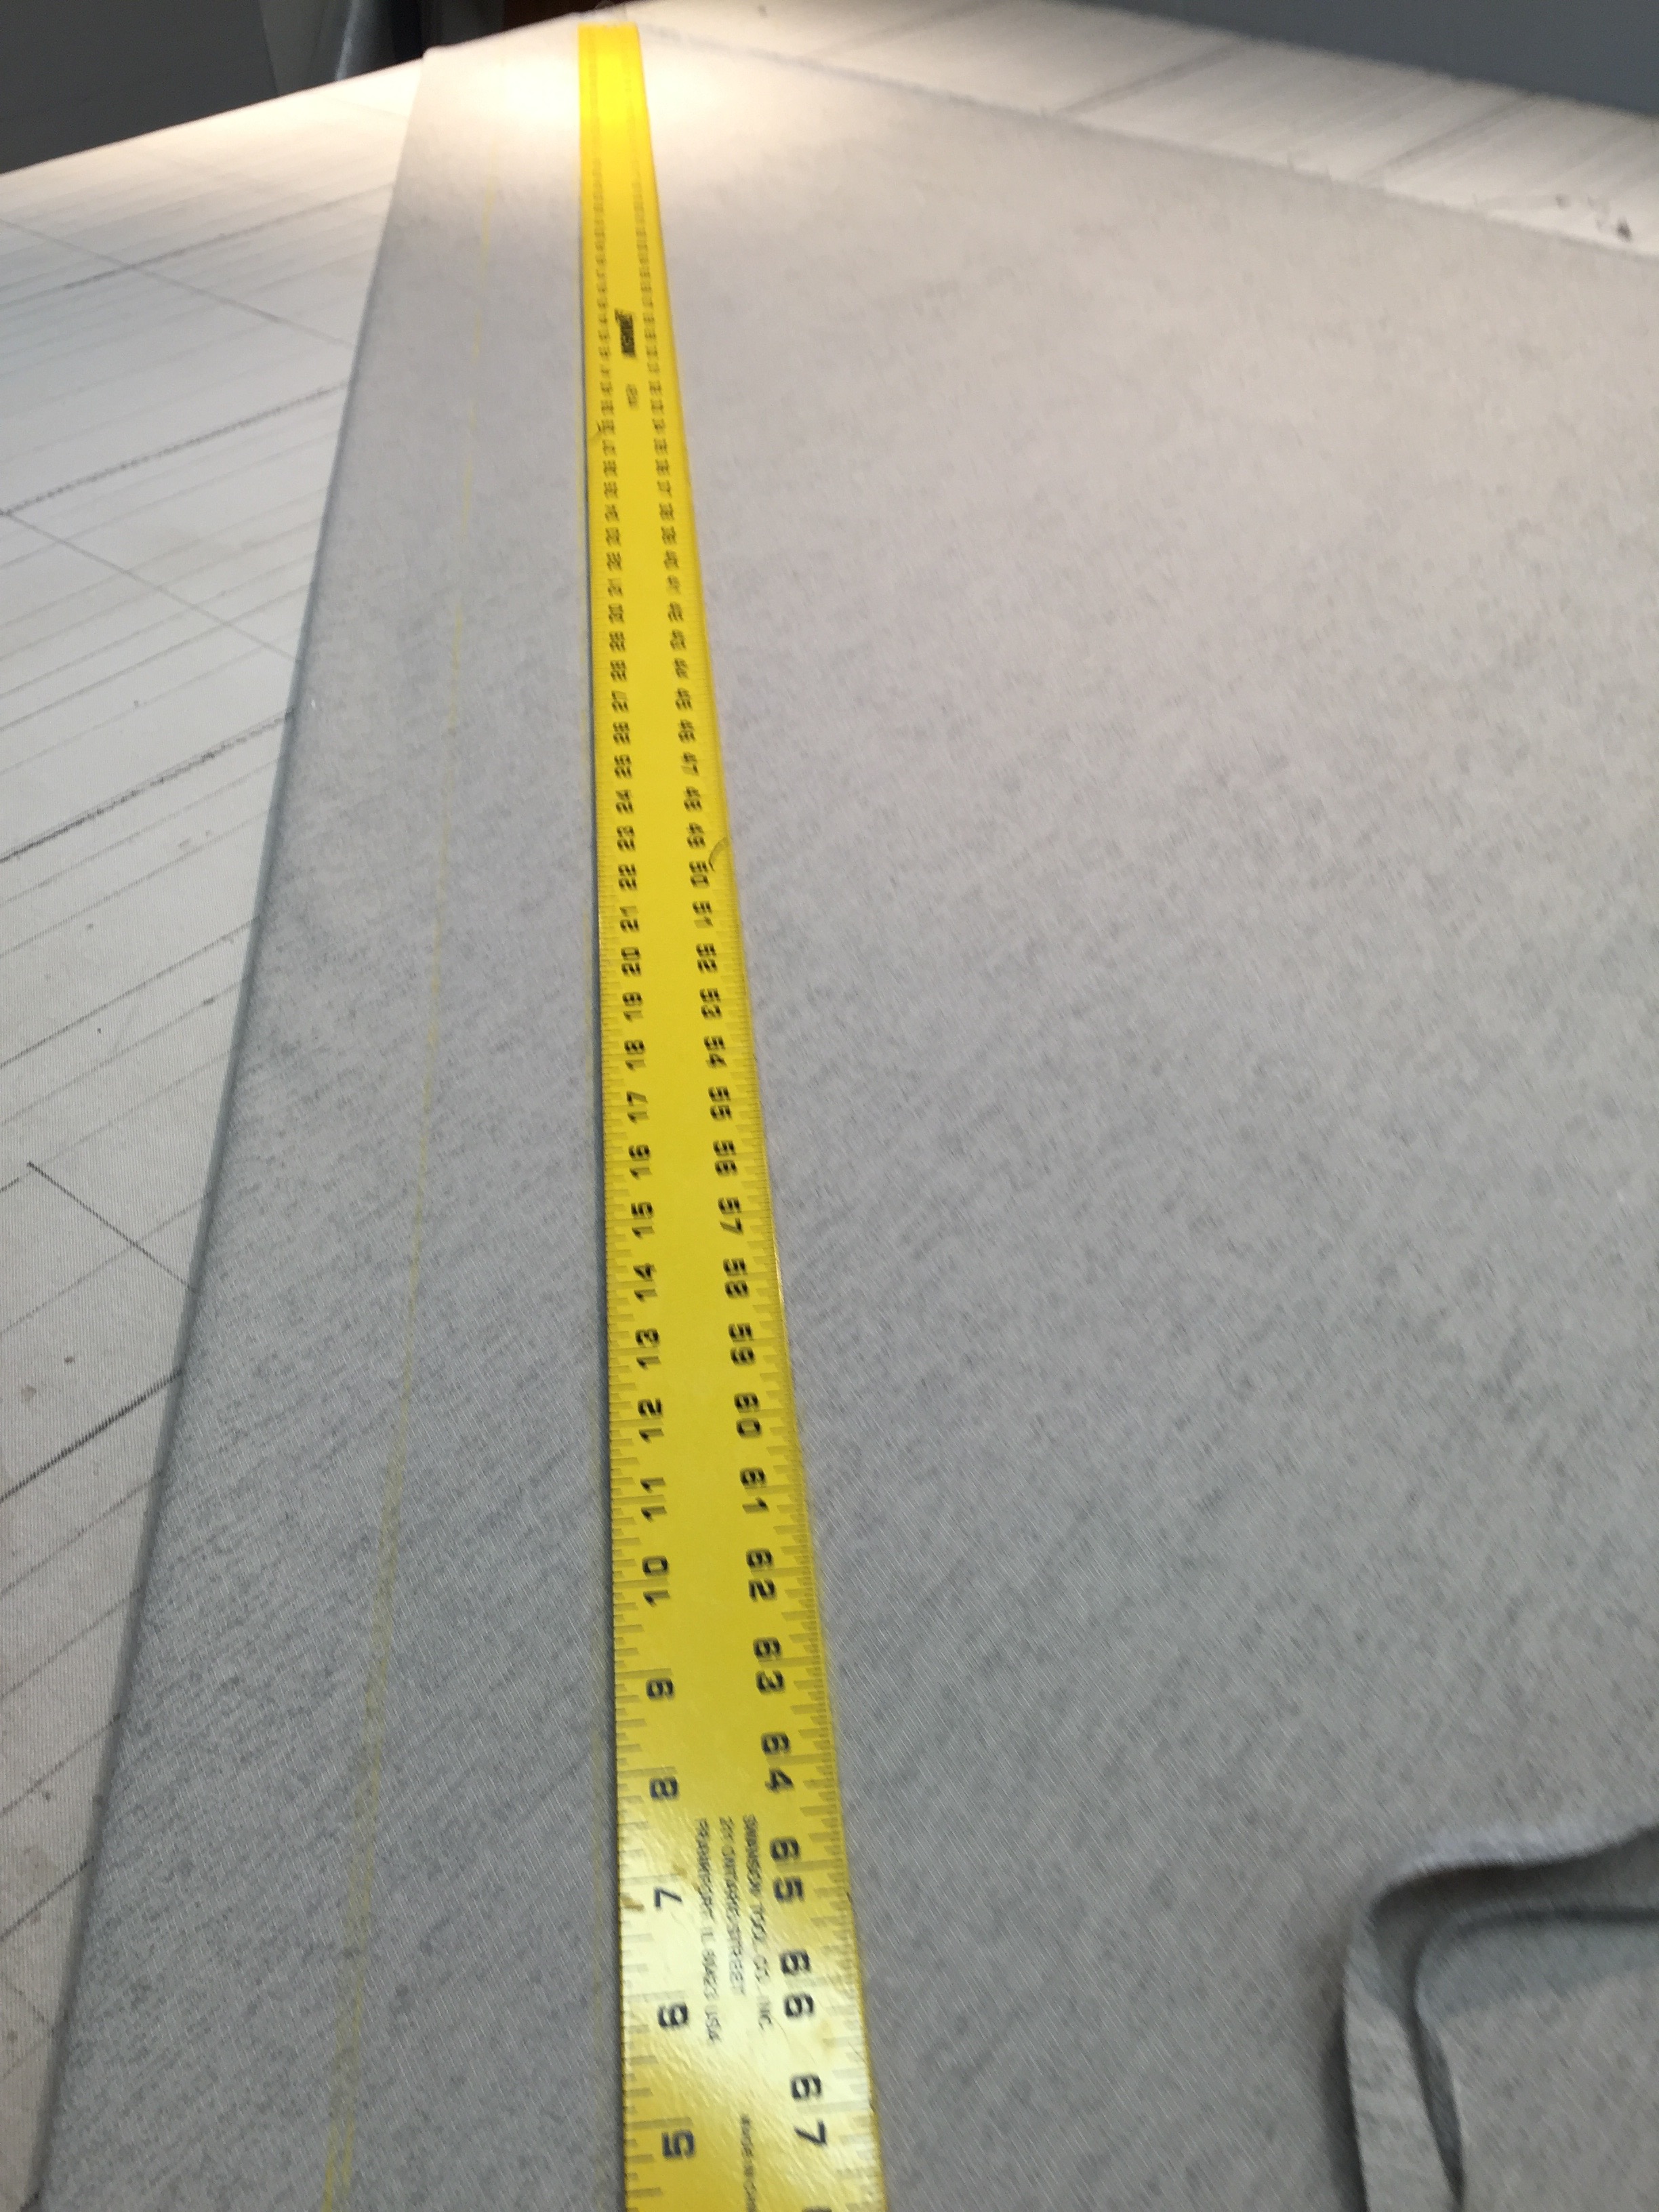
All of our pillows are lined with heavy flannel interlining so back to the table to cut the interlining for the fronts and backs of the pillows.
We use small dots of fabric glue in the seam allowance to hold the interlining and face fabric in place so it doesn’t shift when we take it to the machine to finish the edges.
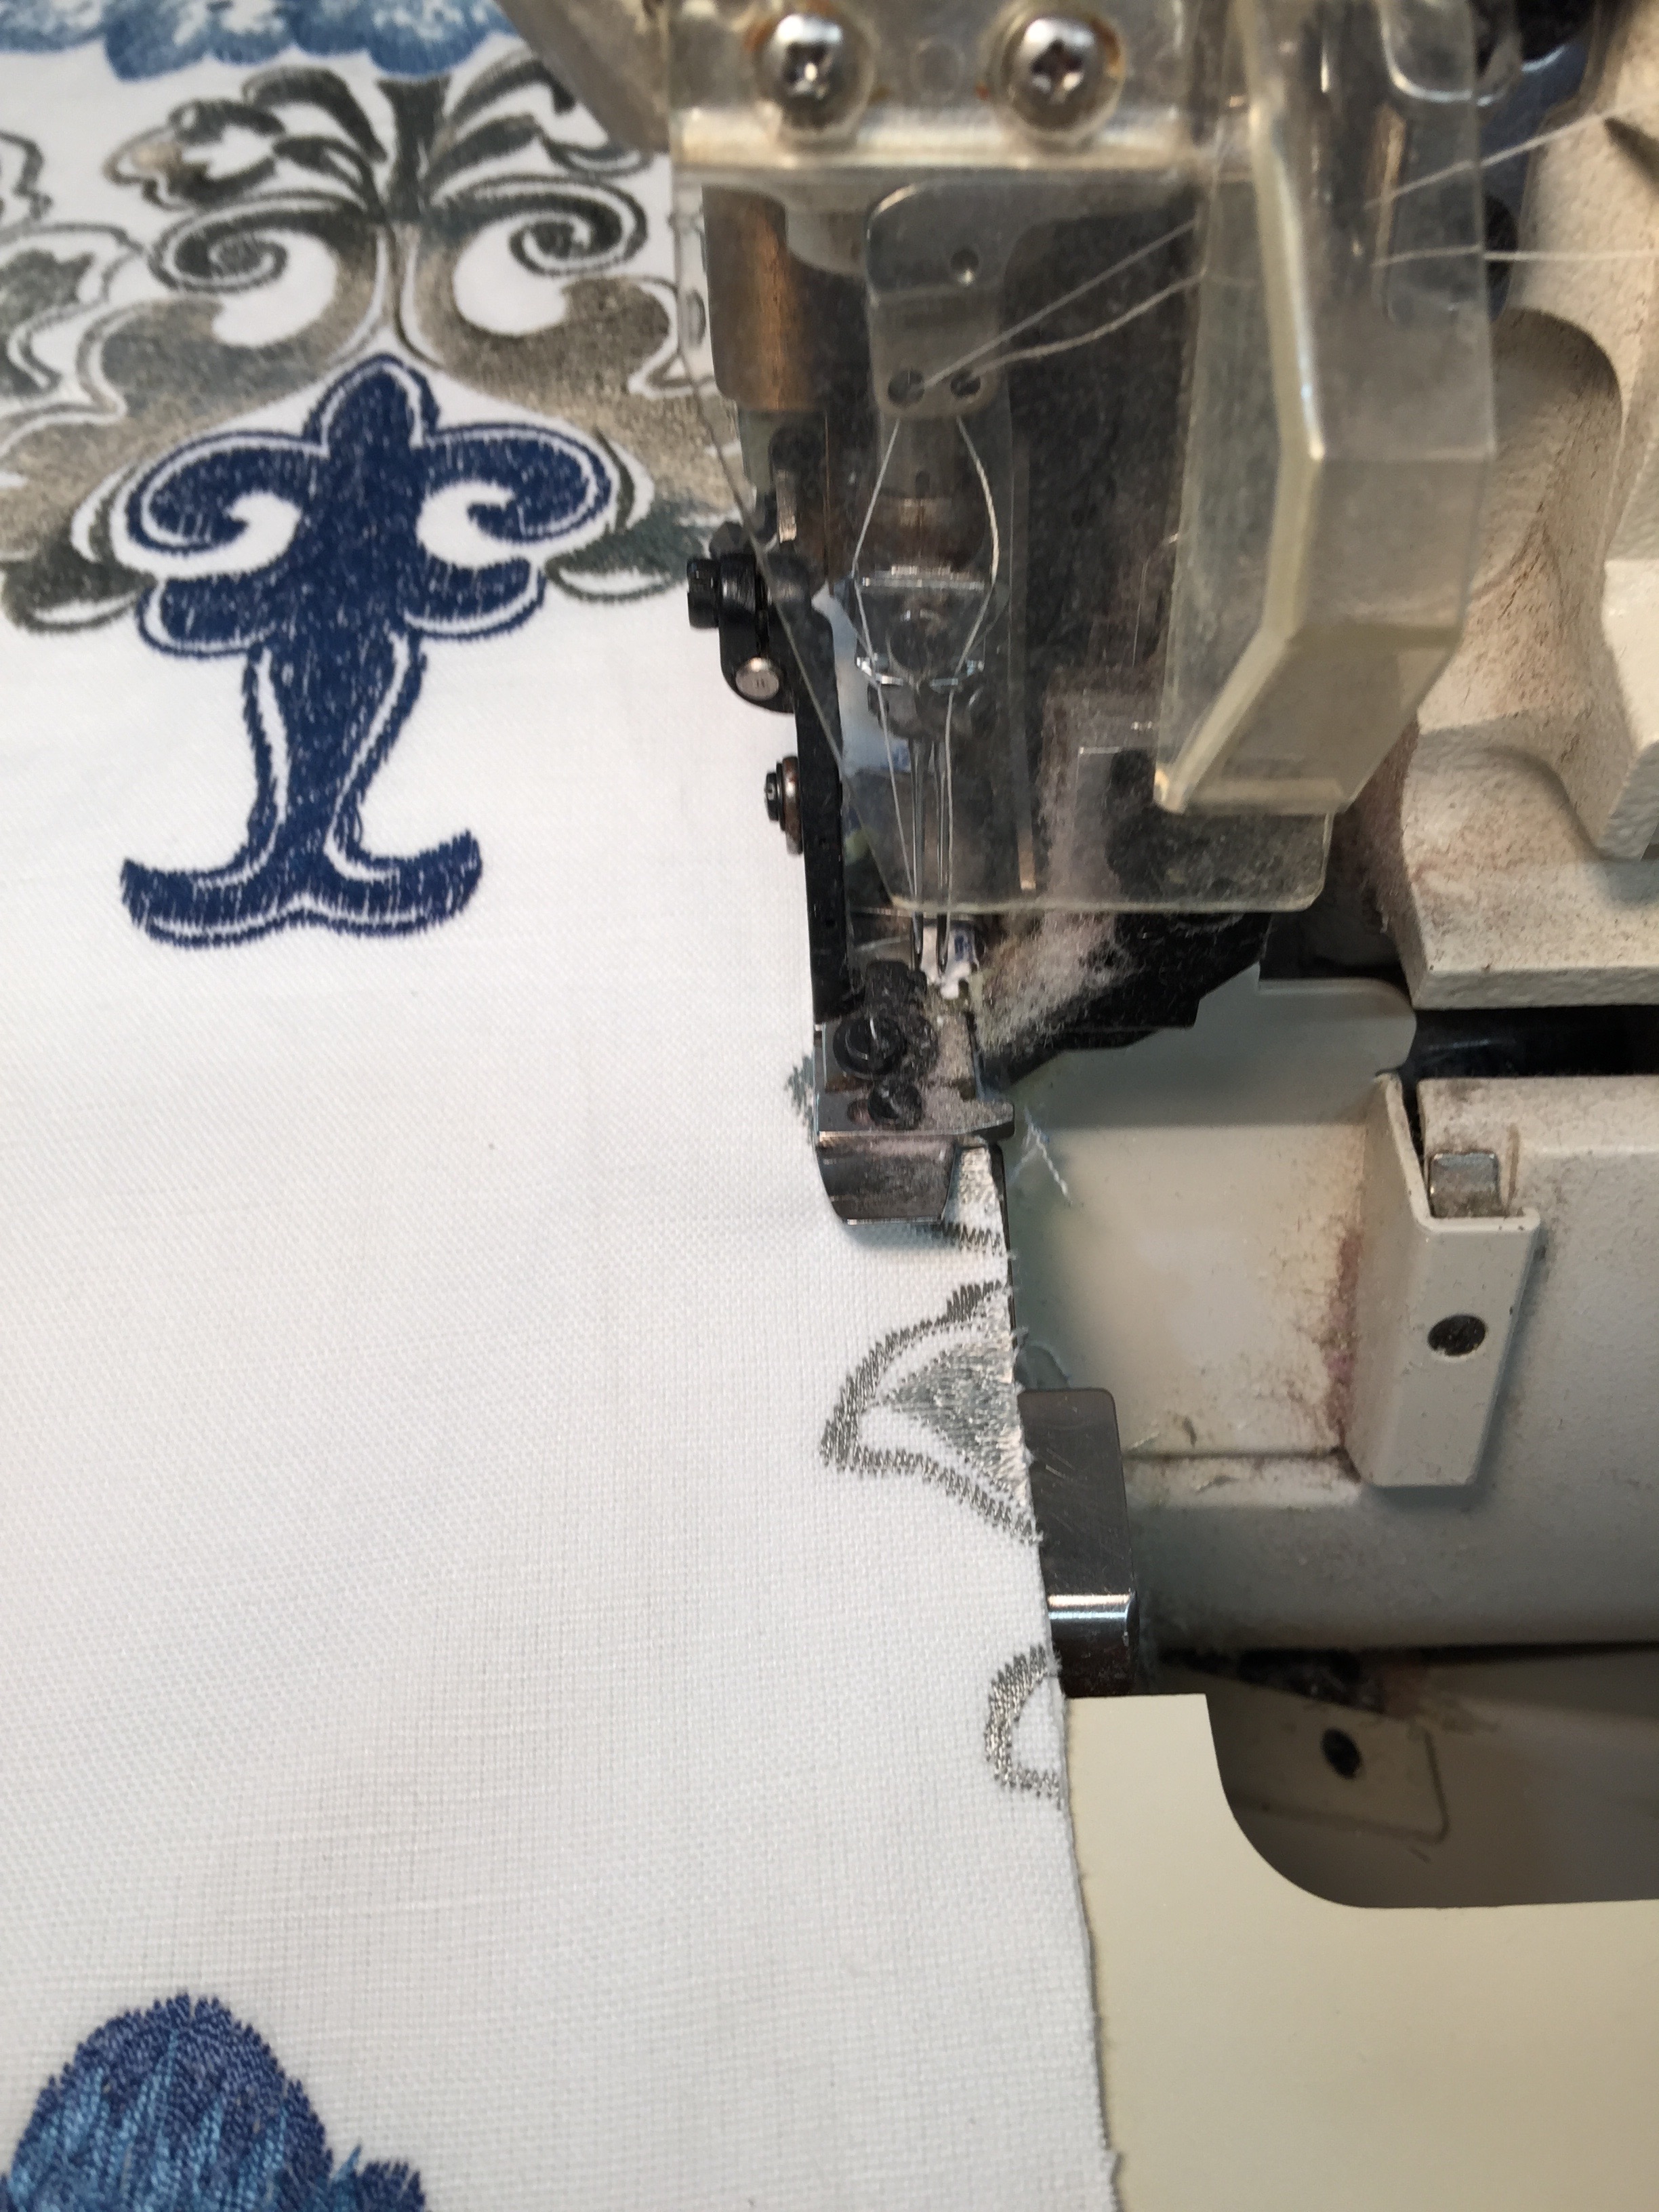
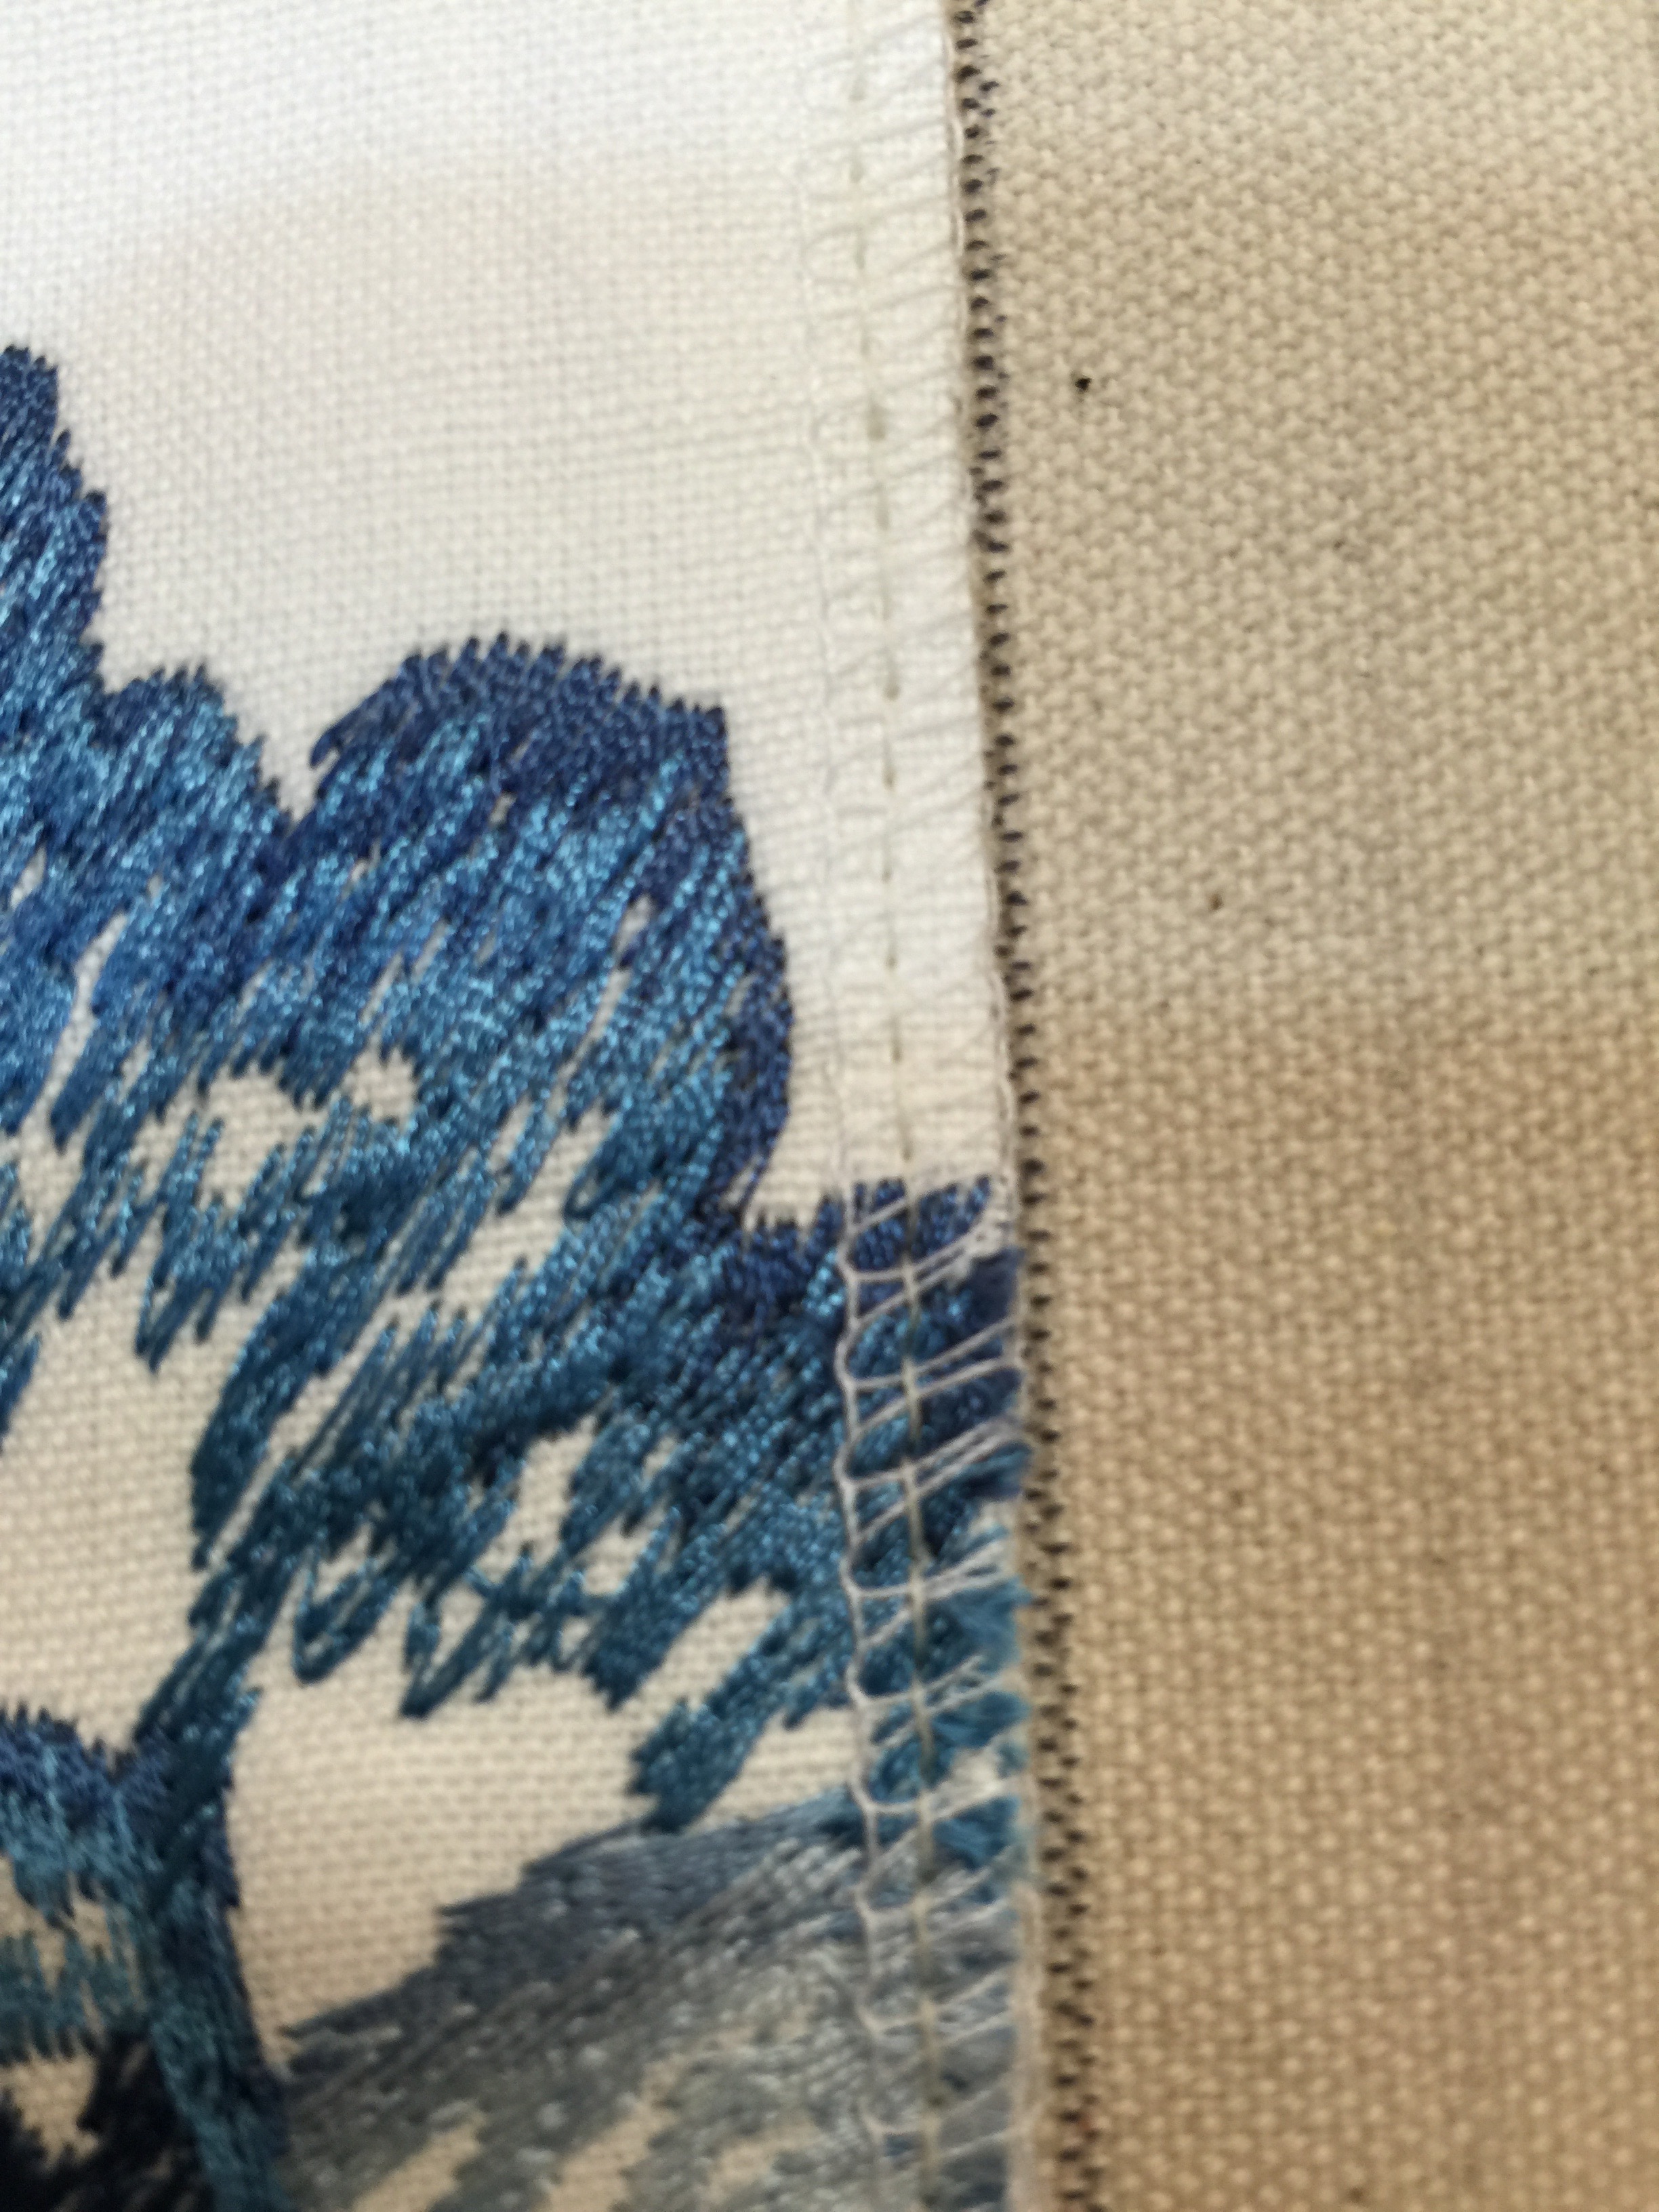
We use an industrial serger to finish the edges of our pillow so they are neat and do not fray
Back to the table to apply the welt. Again, we use small dots of fabric glue to hold the welt in place before stitching

Then back to the machine to stich in place. Here we are joining the cording where the two ends meet:
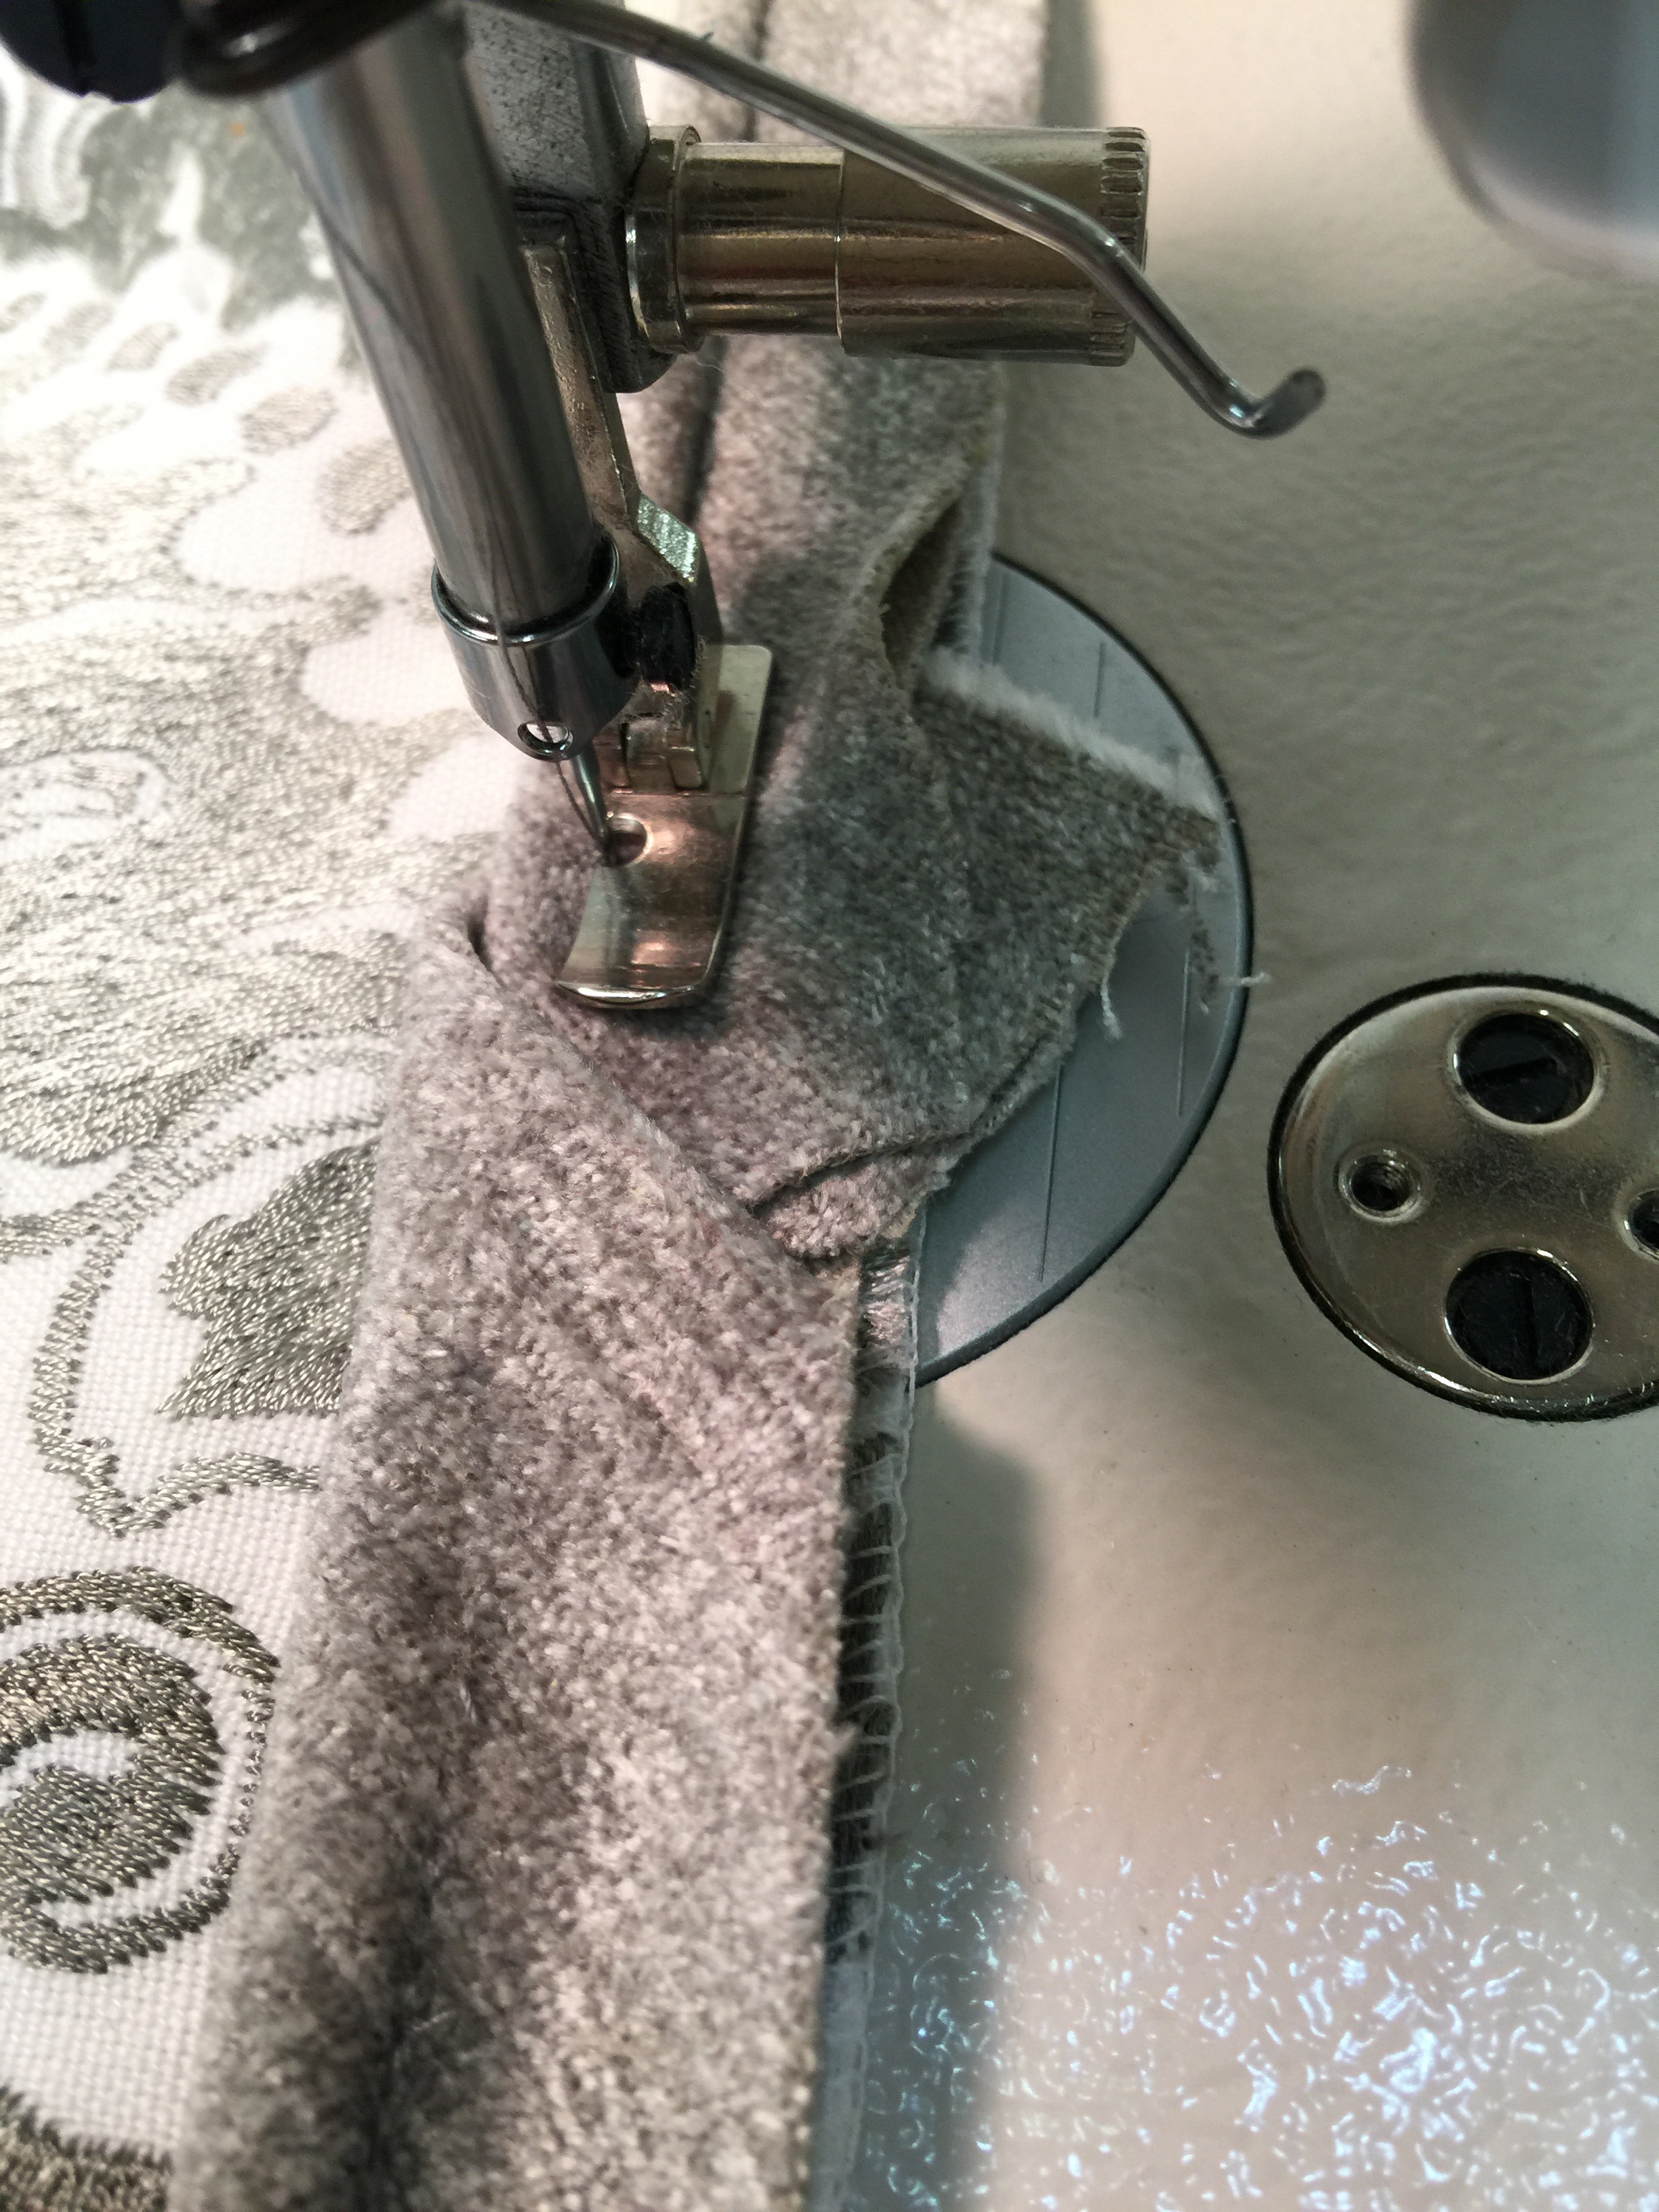
Back to the table to set the zipper – again we use an adhesive product to hold the zipper in place while we stitch it. This step is especially important when using the same fabric on the front and back because the patterns have to match where they meet.
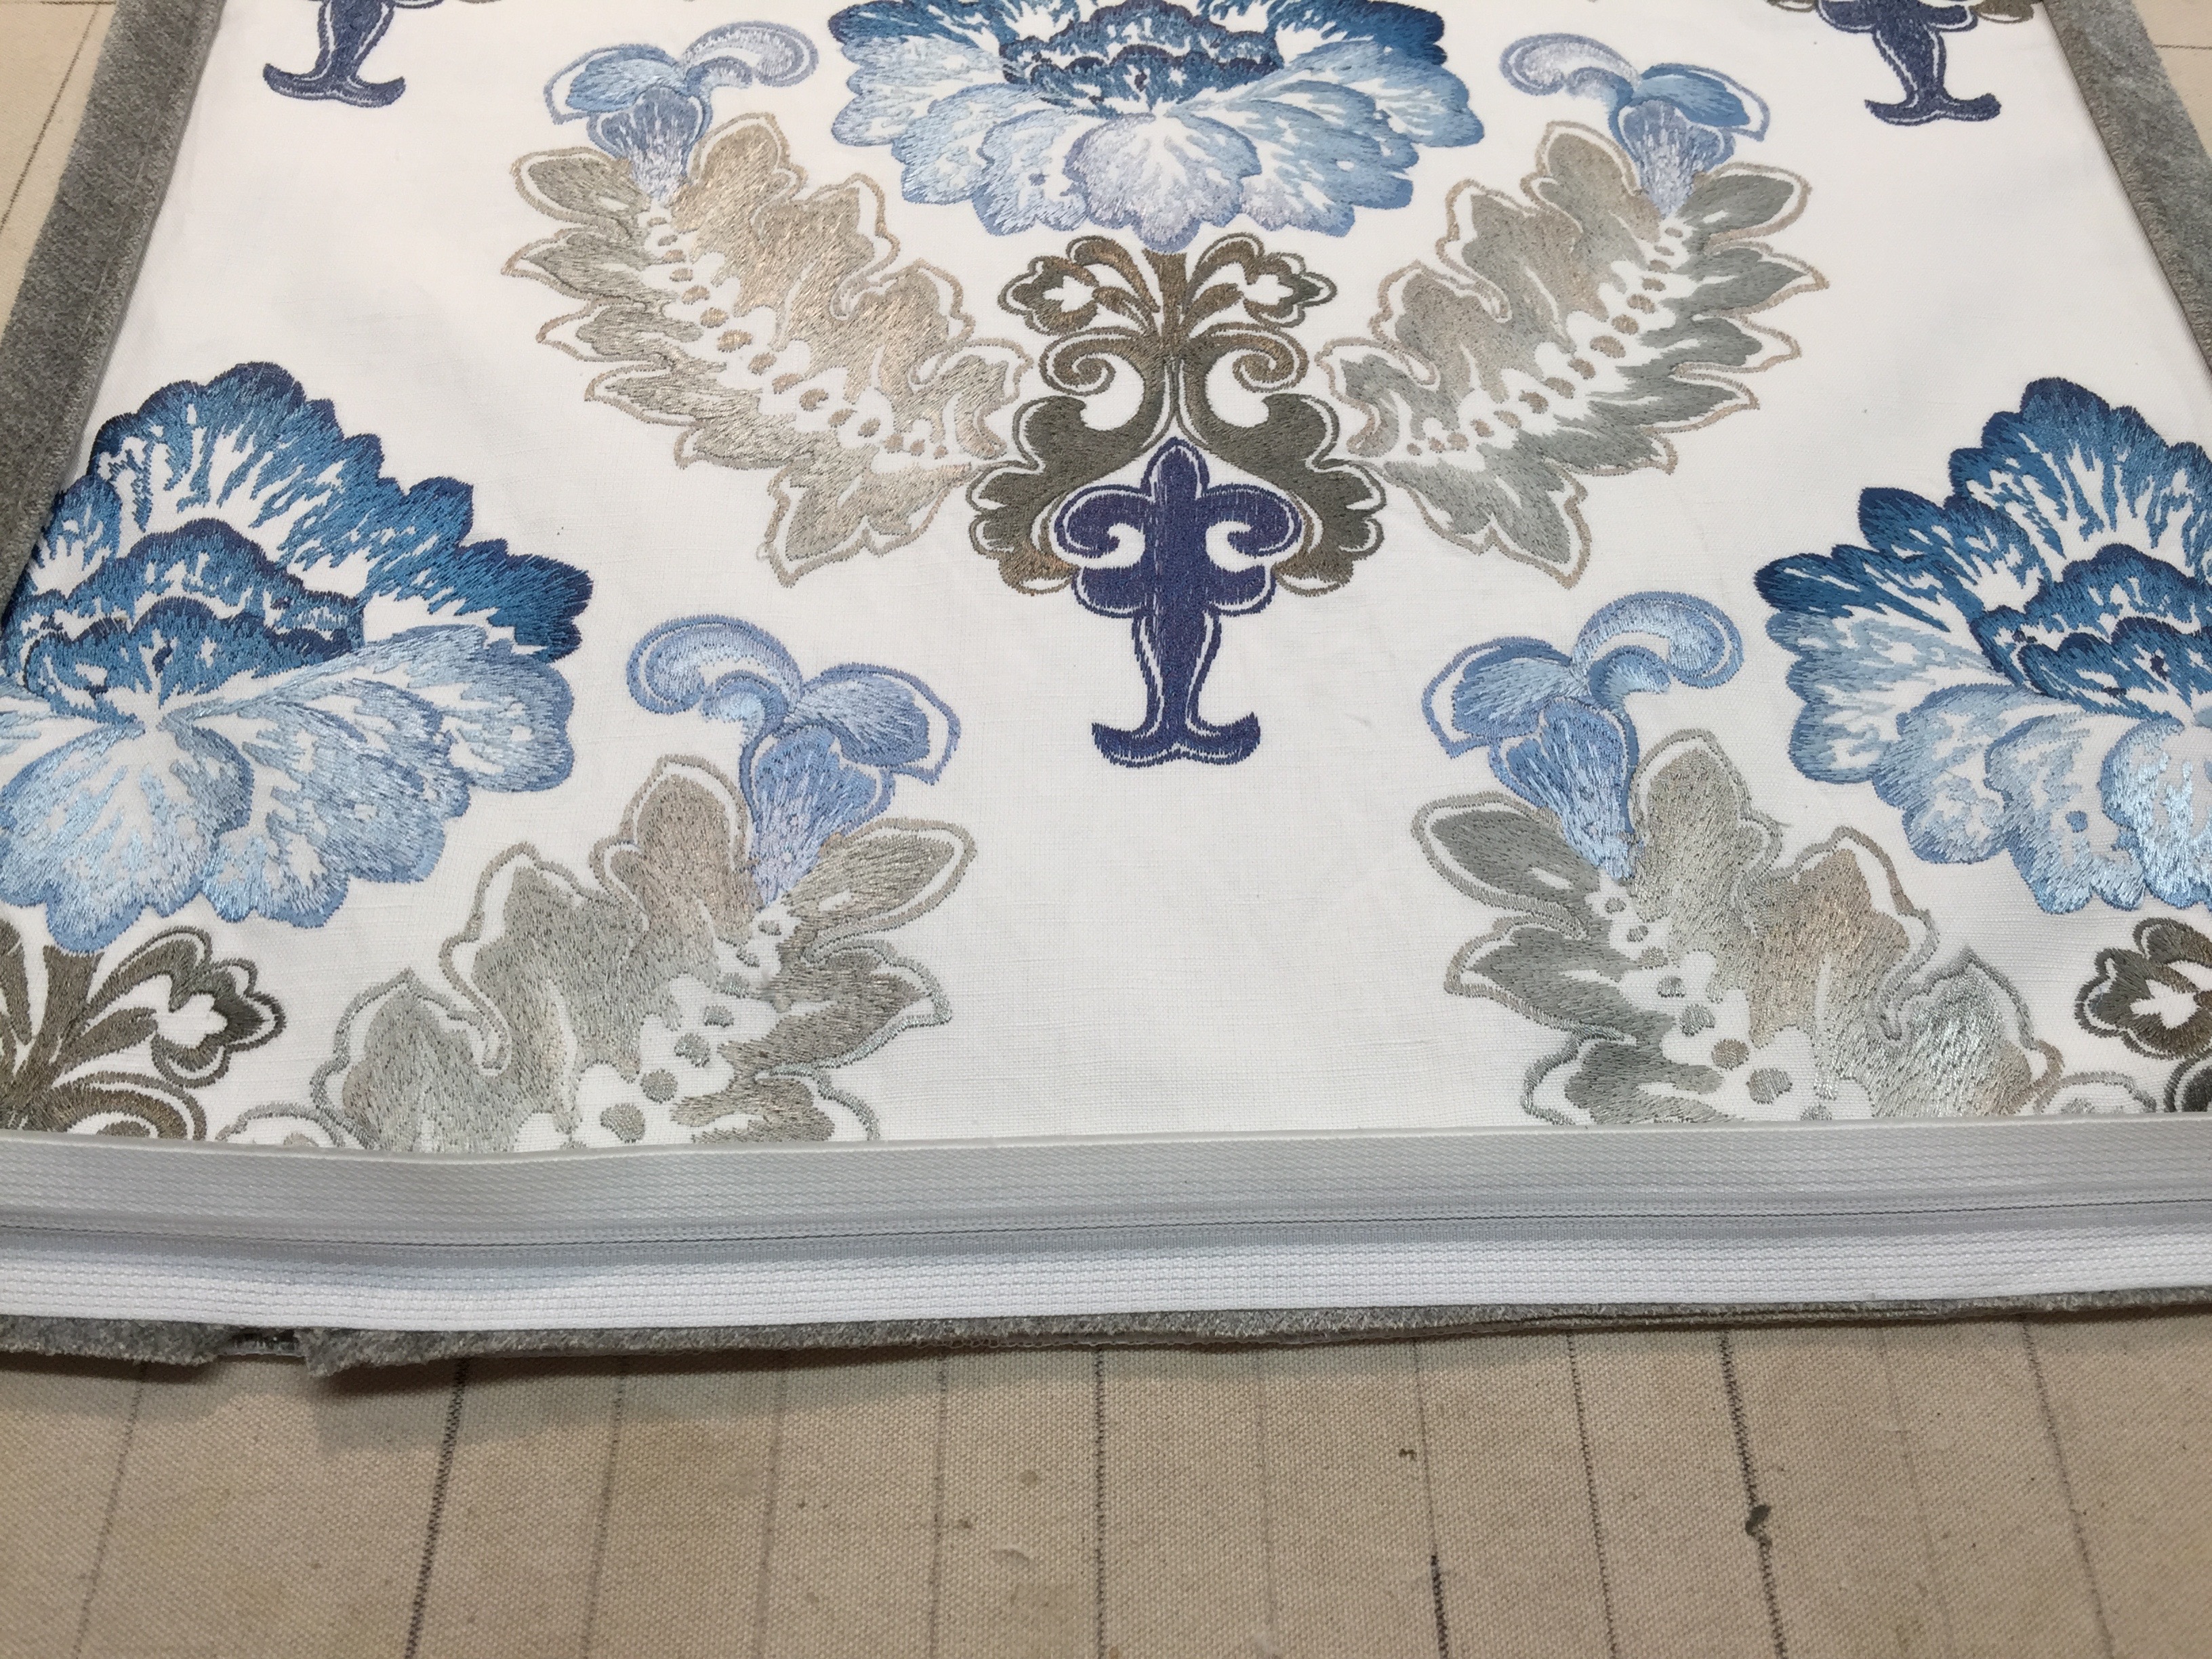
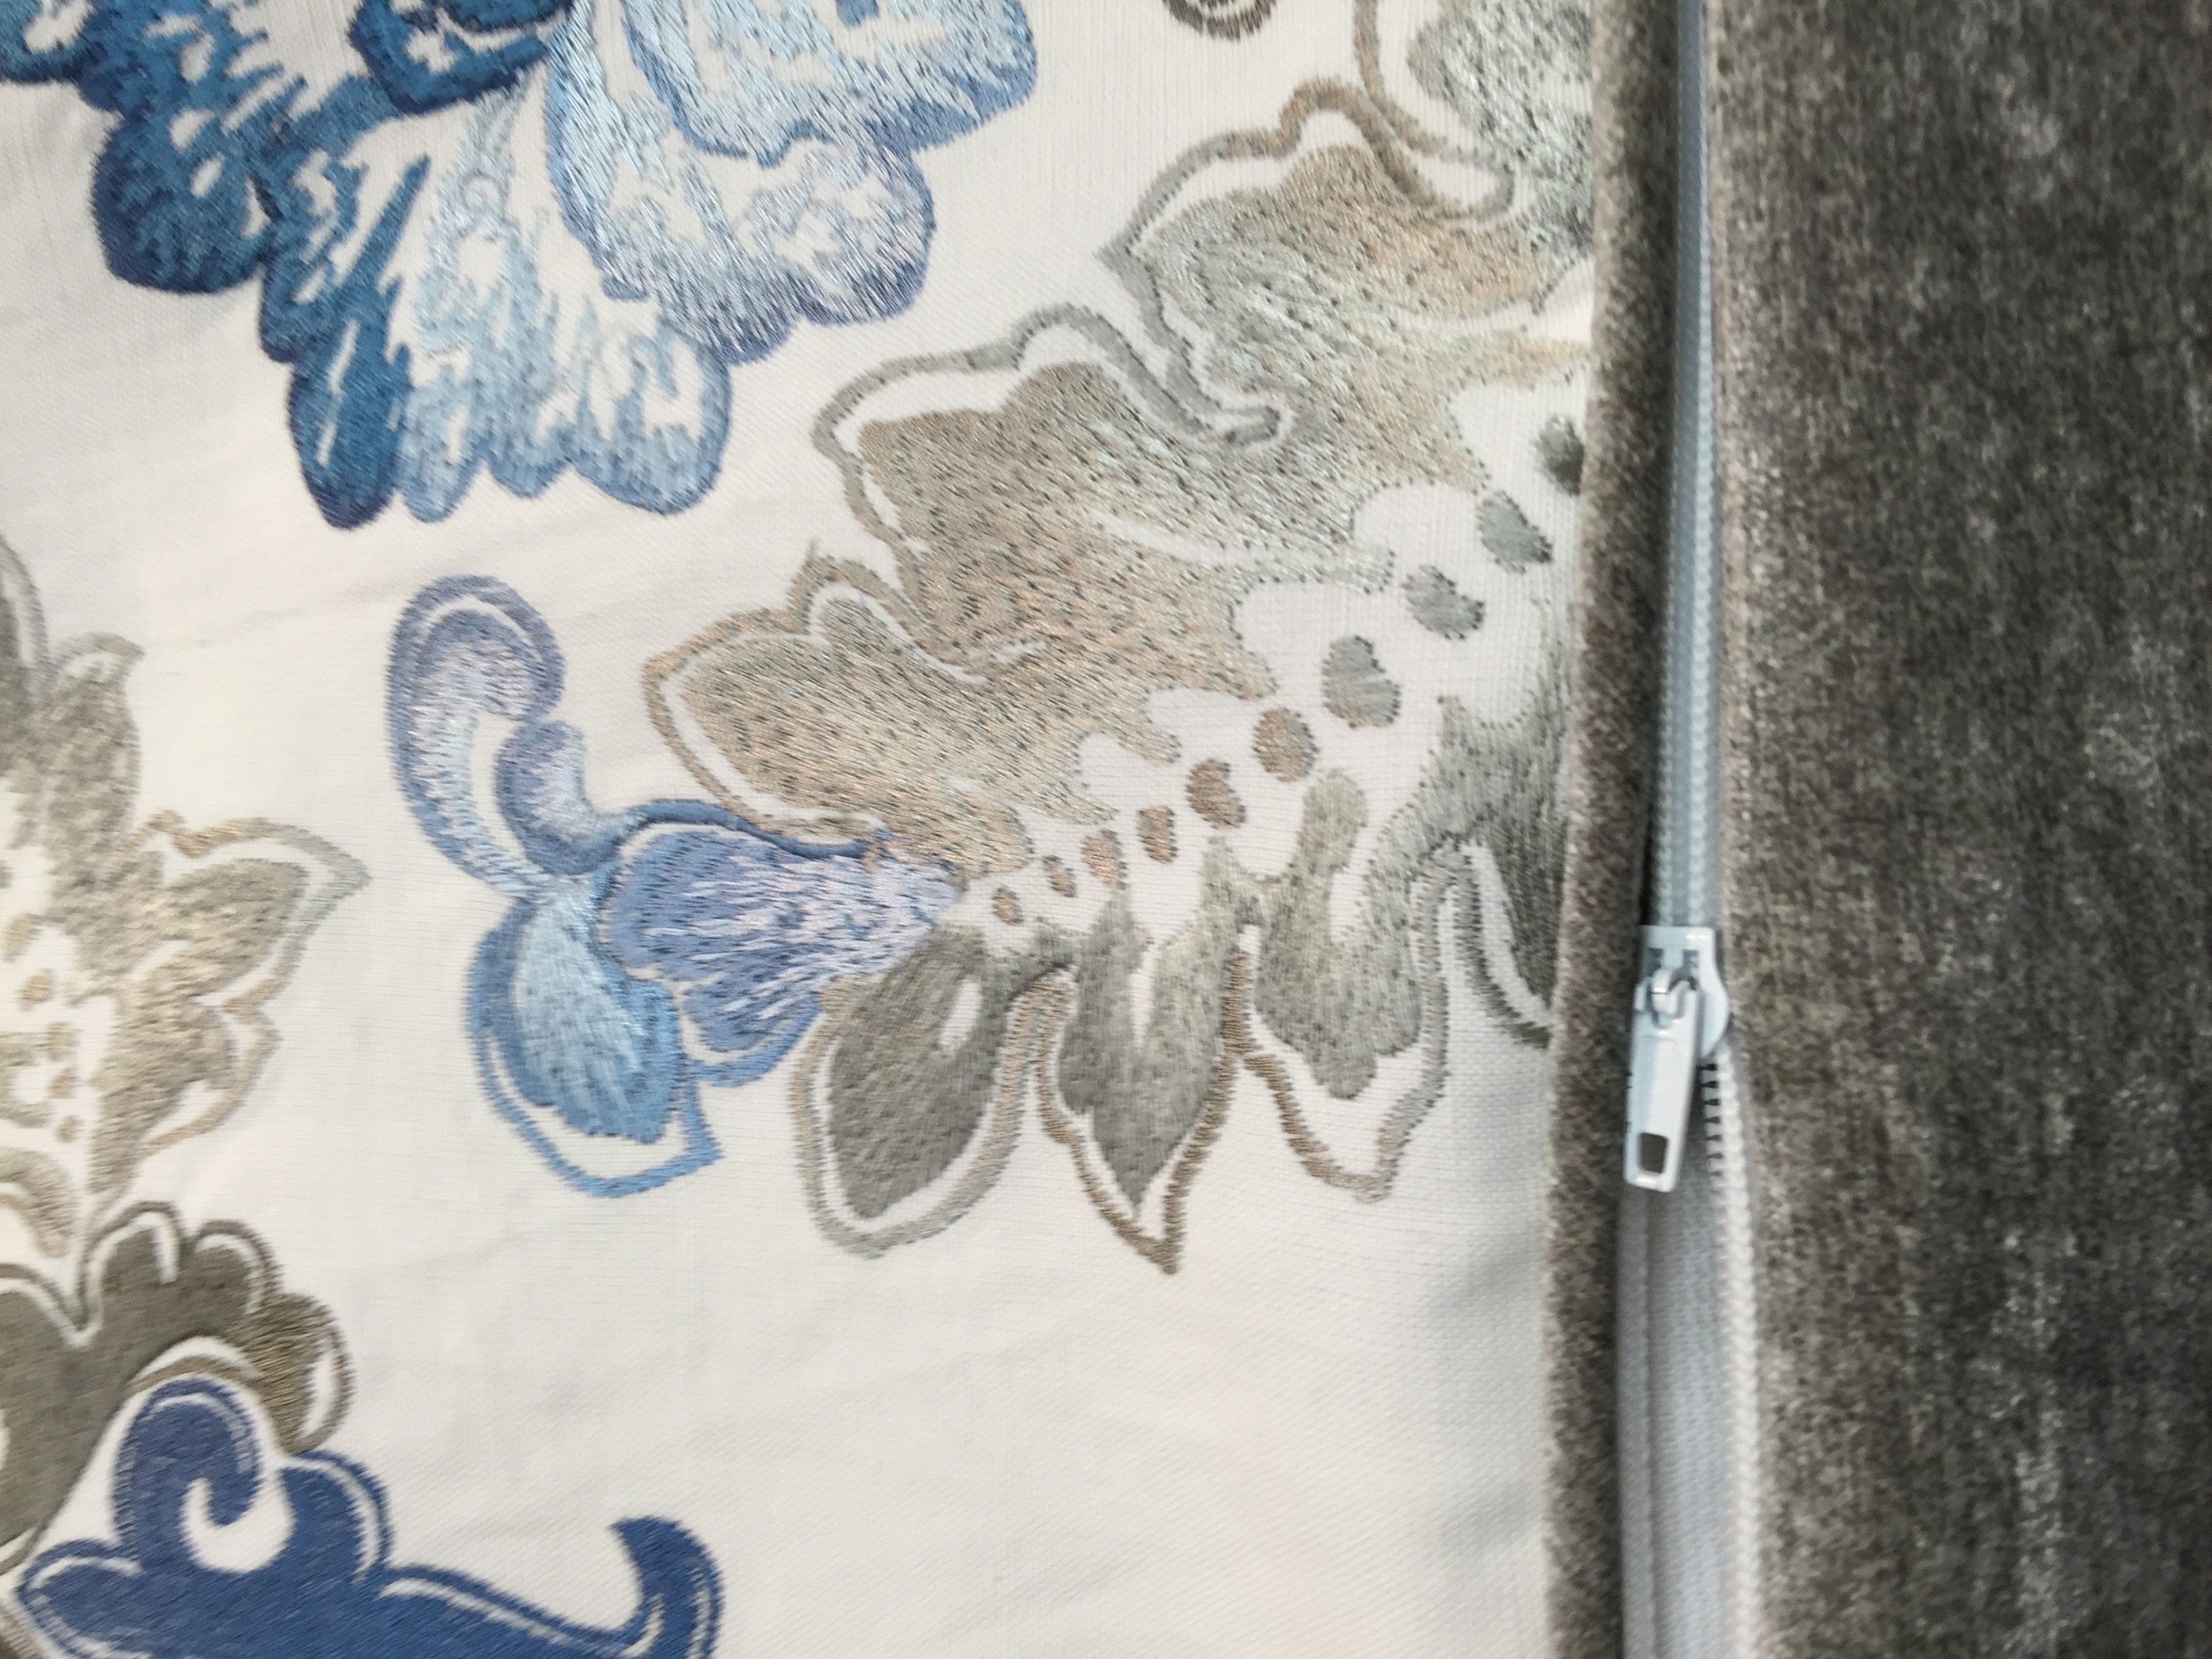
Completed zipper:
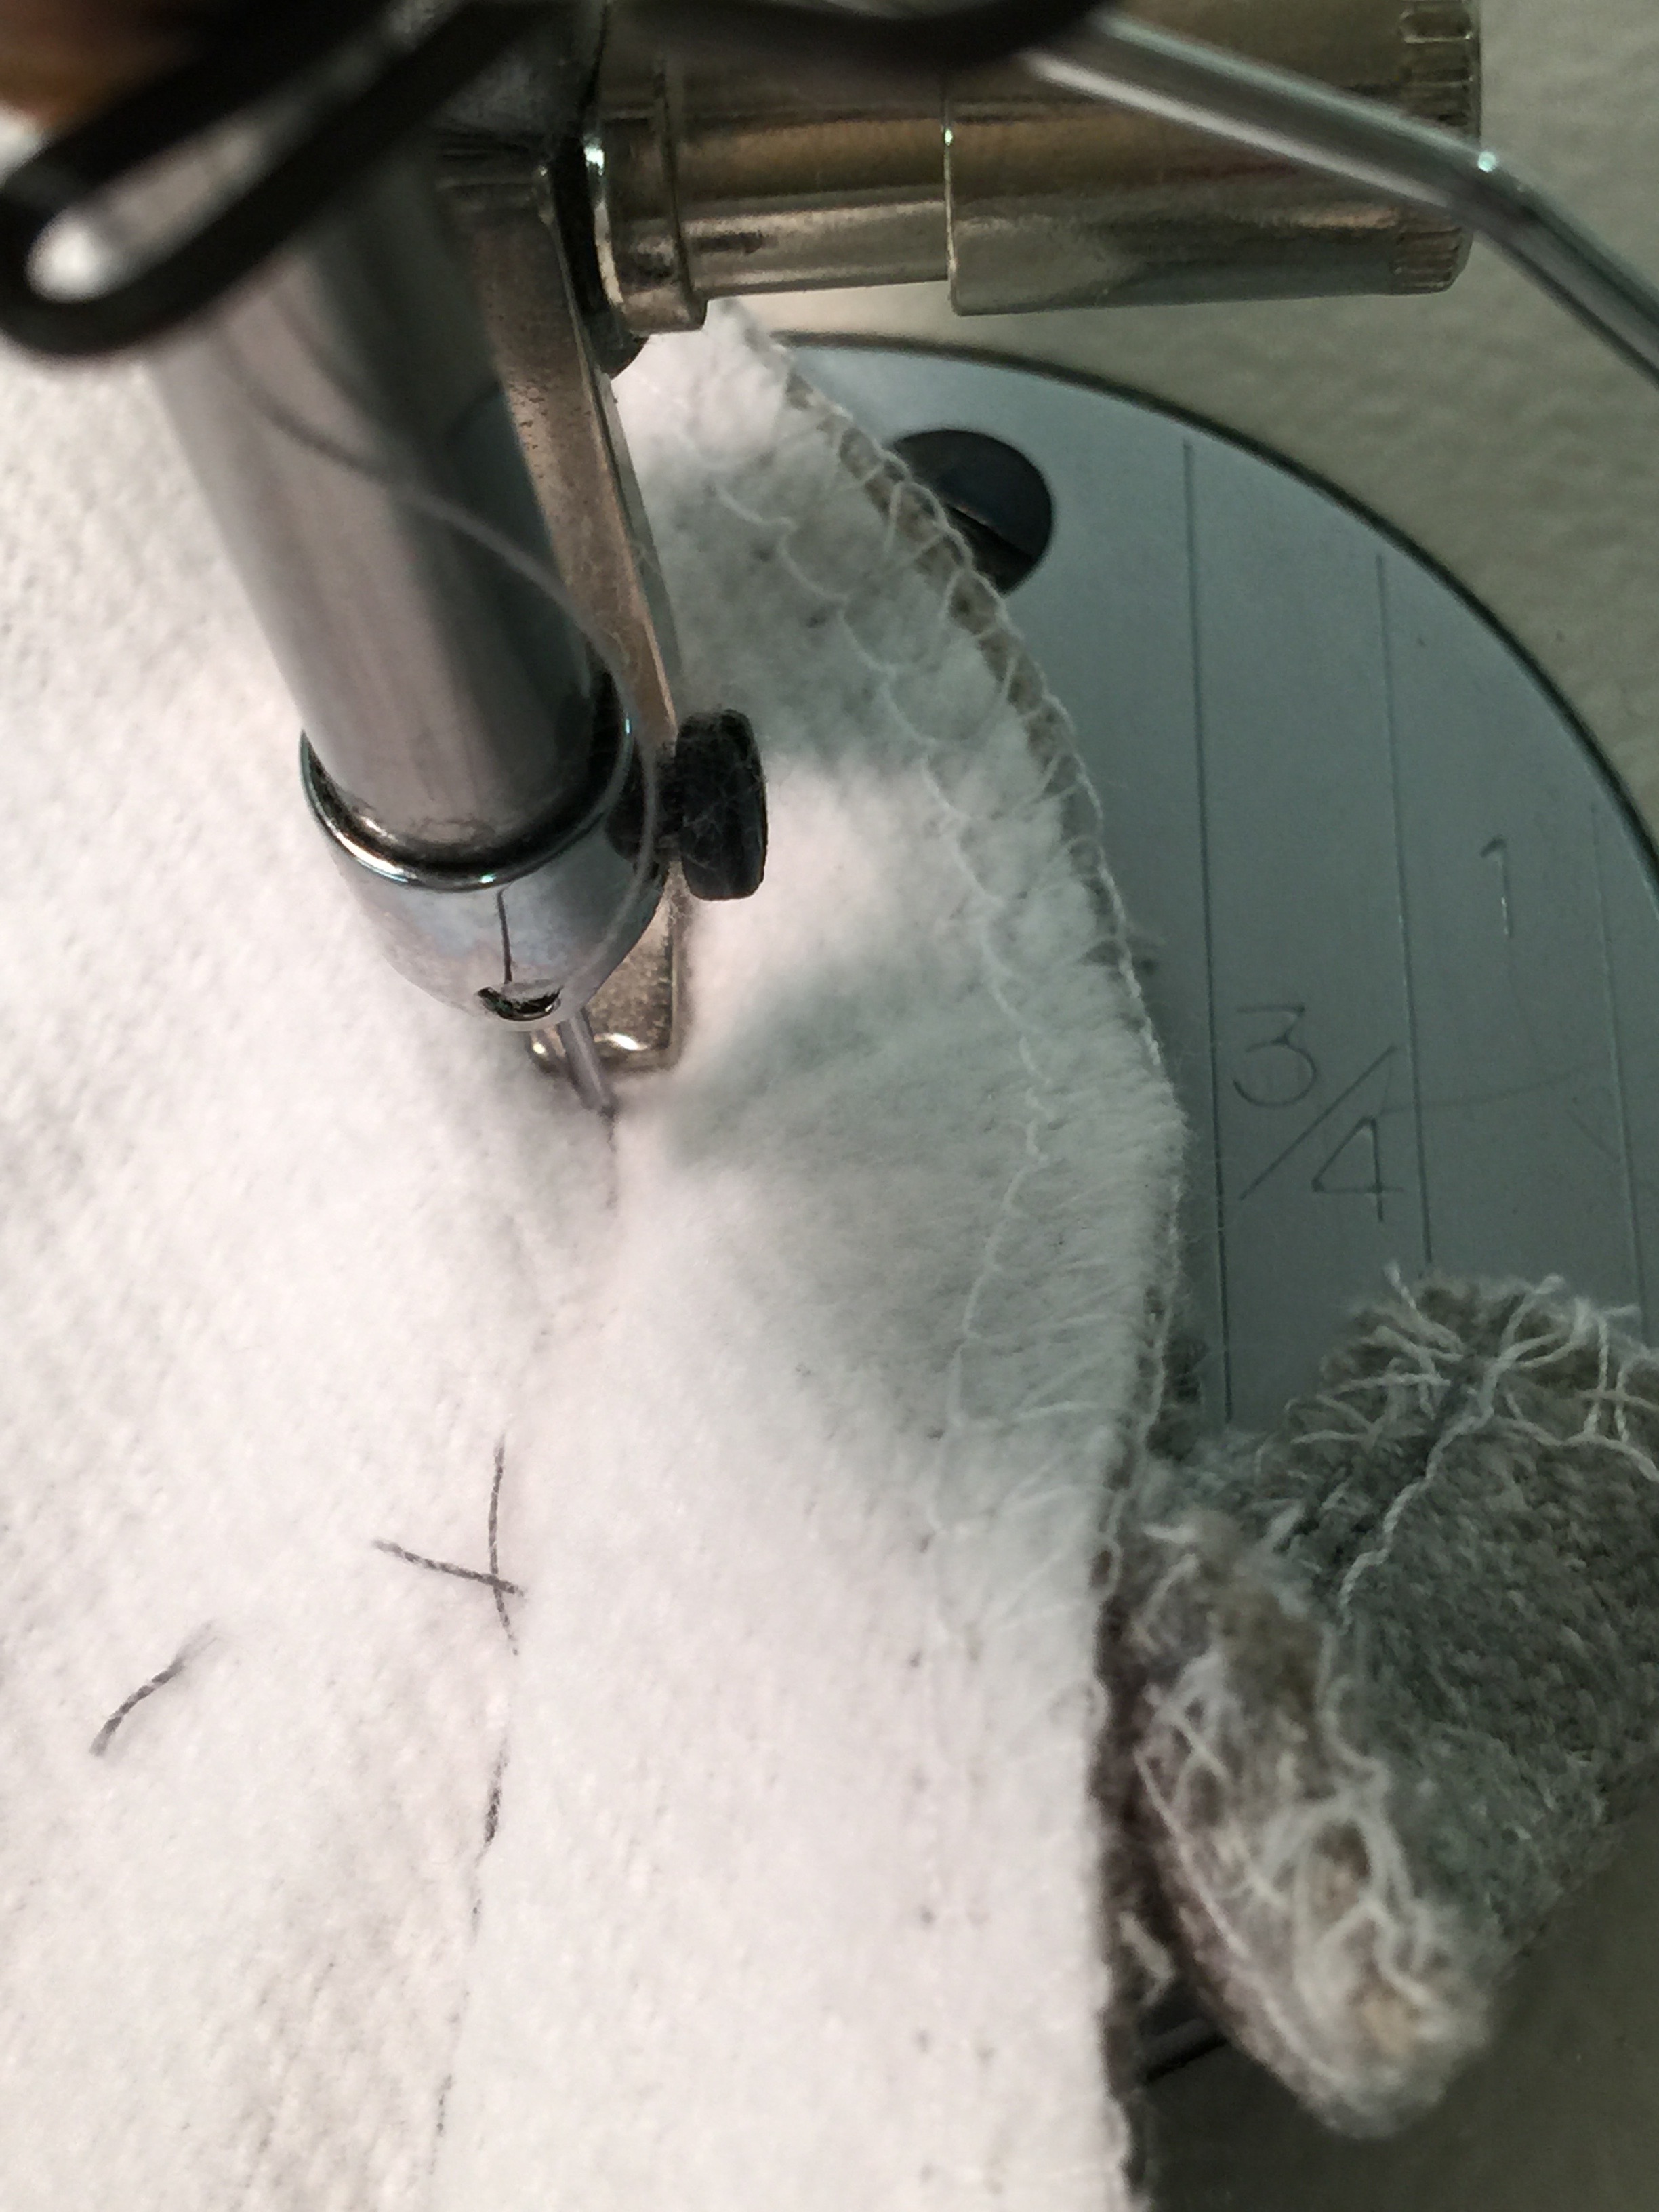
Now we close the pillow by stitching the front to back. This time we use a slightly smaller foot which fits tightly around the welt – this prevents the first rows of stitching from showing on the pillow.
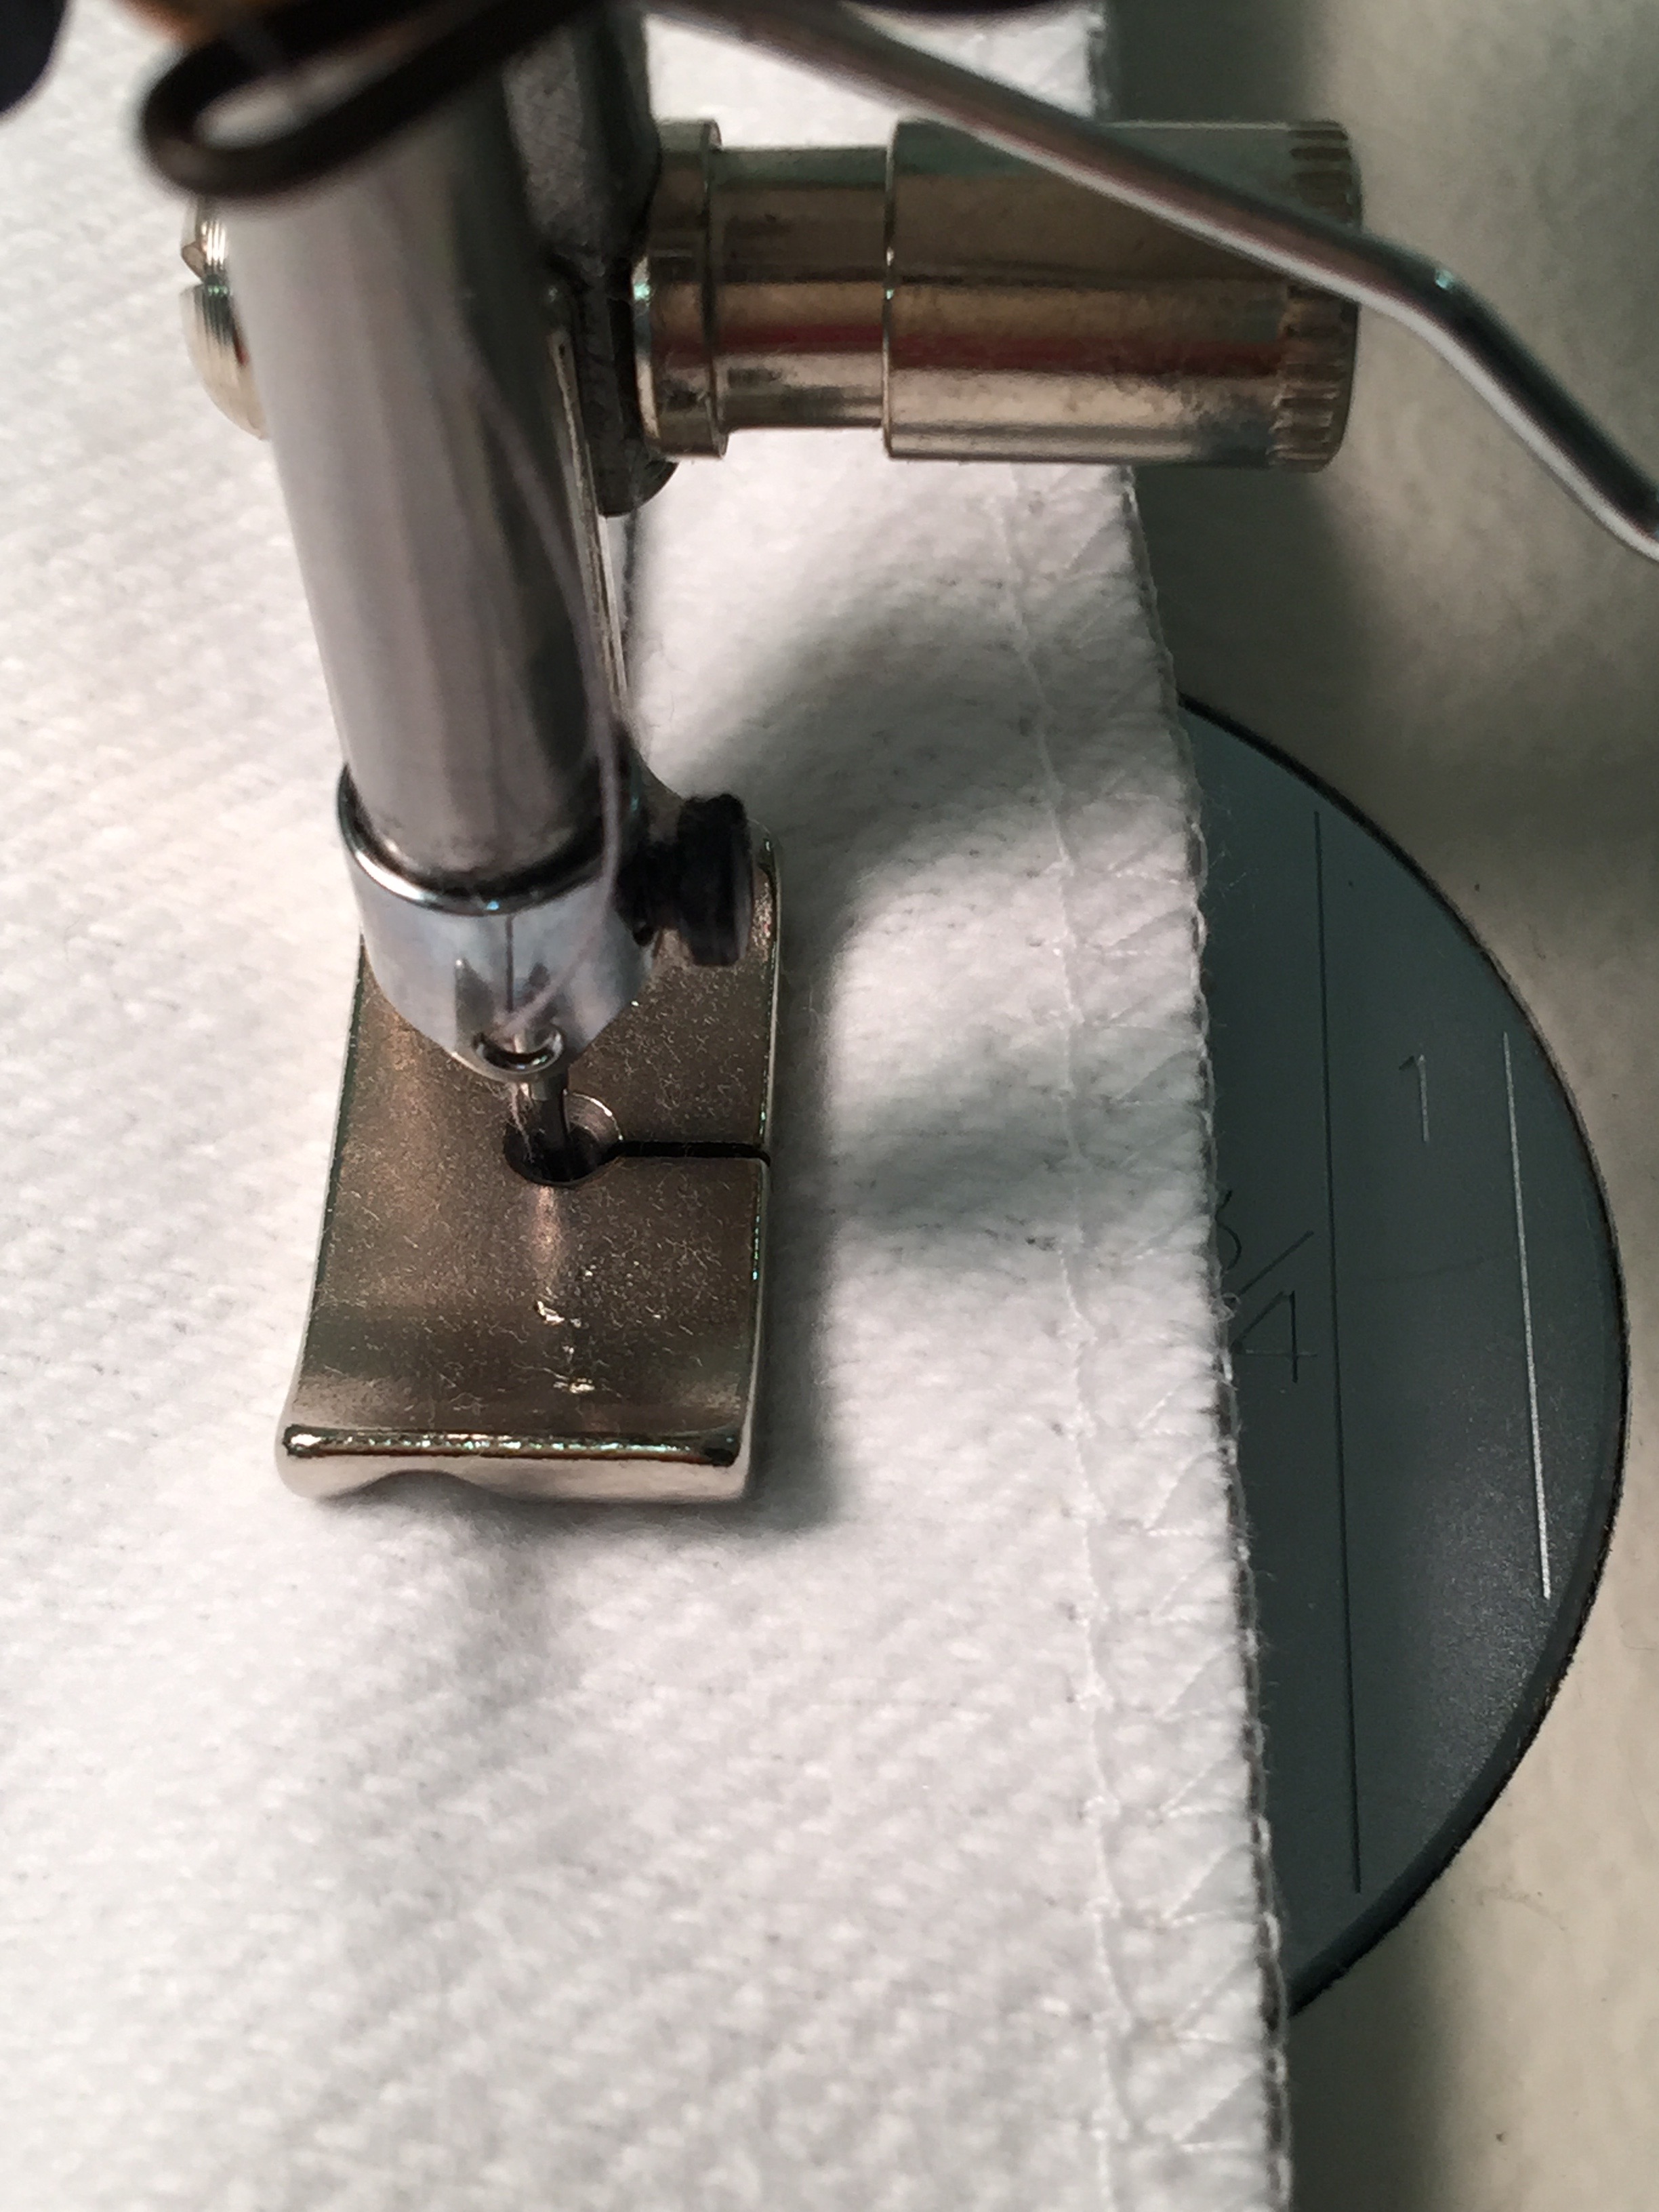
When we get to the ends – where the zipper has been inserted we change the foot once again – this blunt foot allows us to get as close as possible to the zipper – making a nice tight closure.
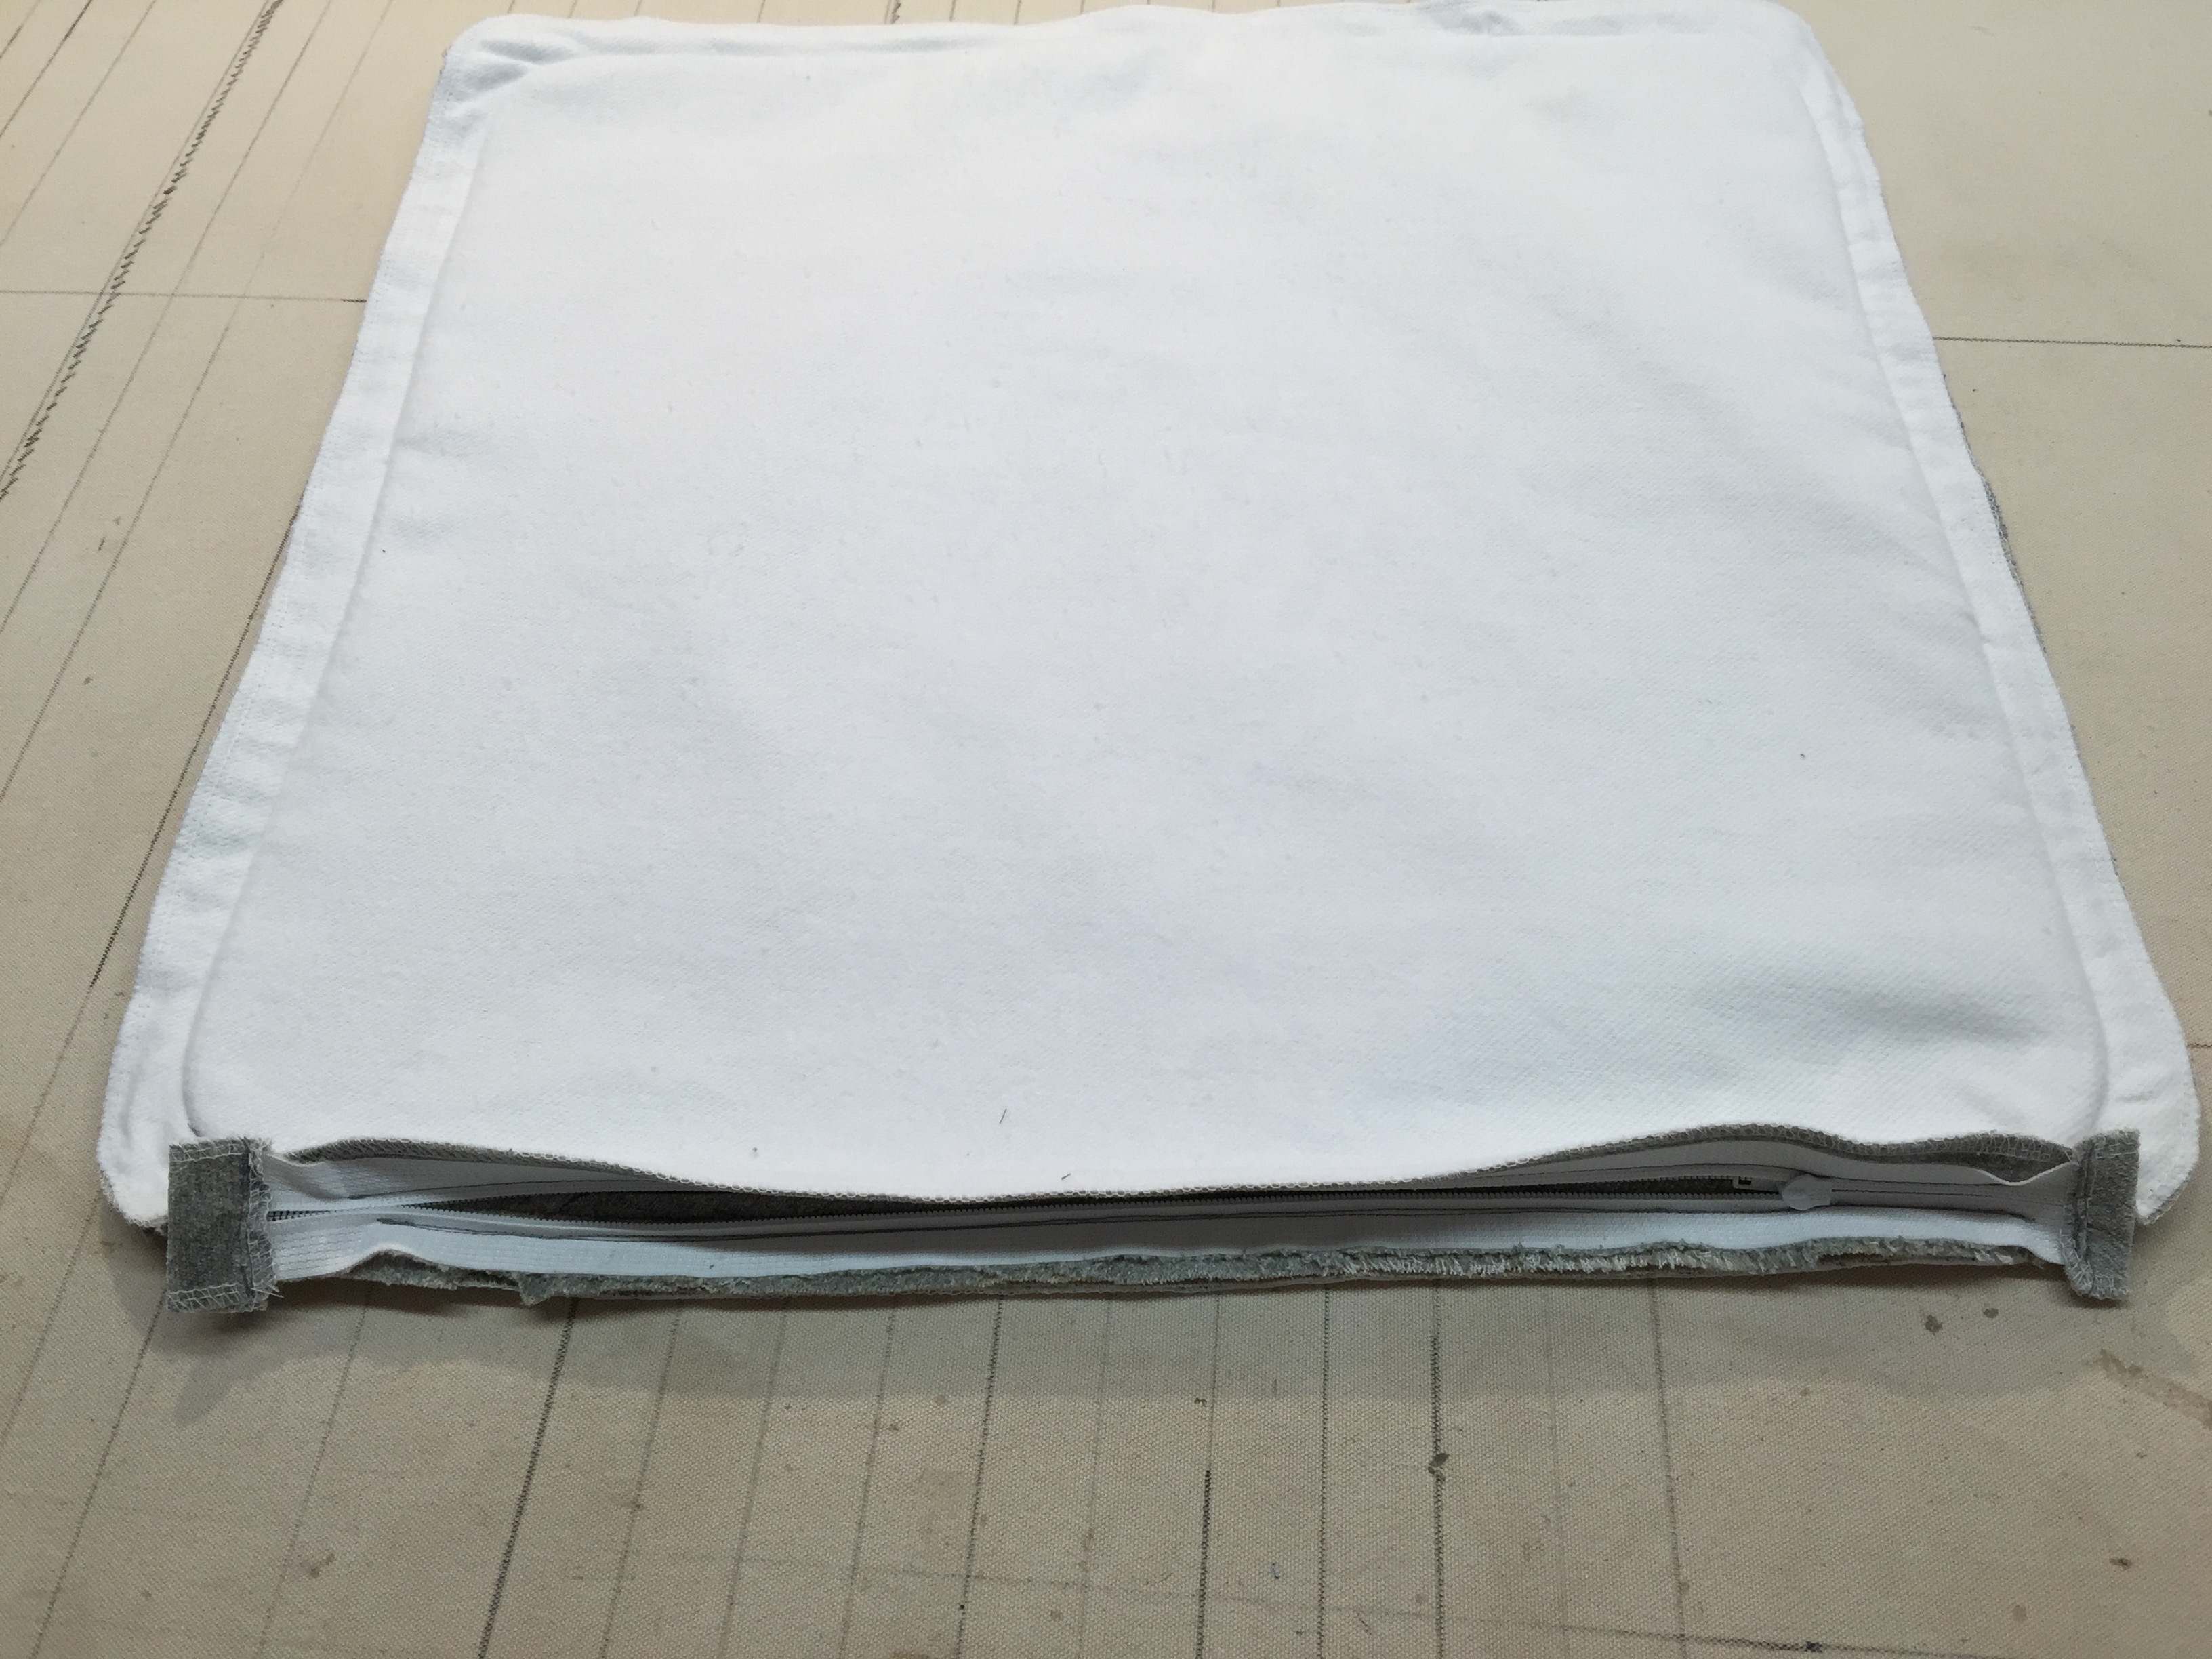
Here is the inside of our completed pillow:
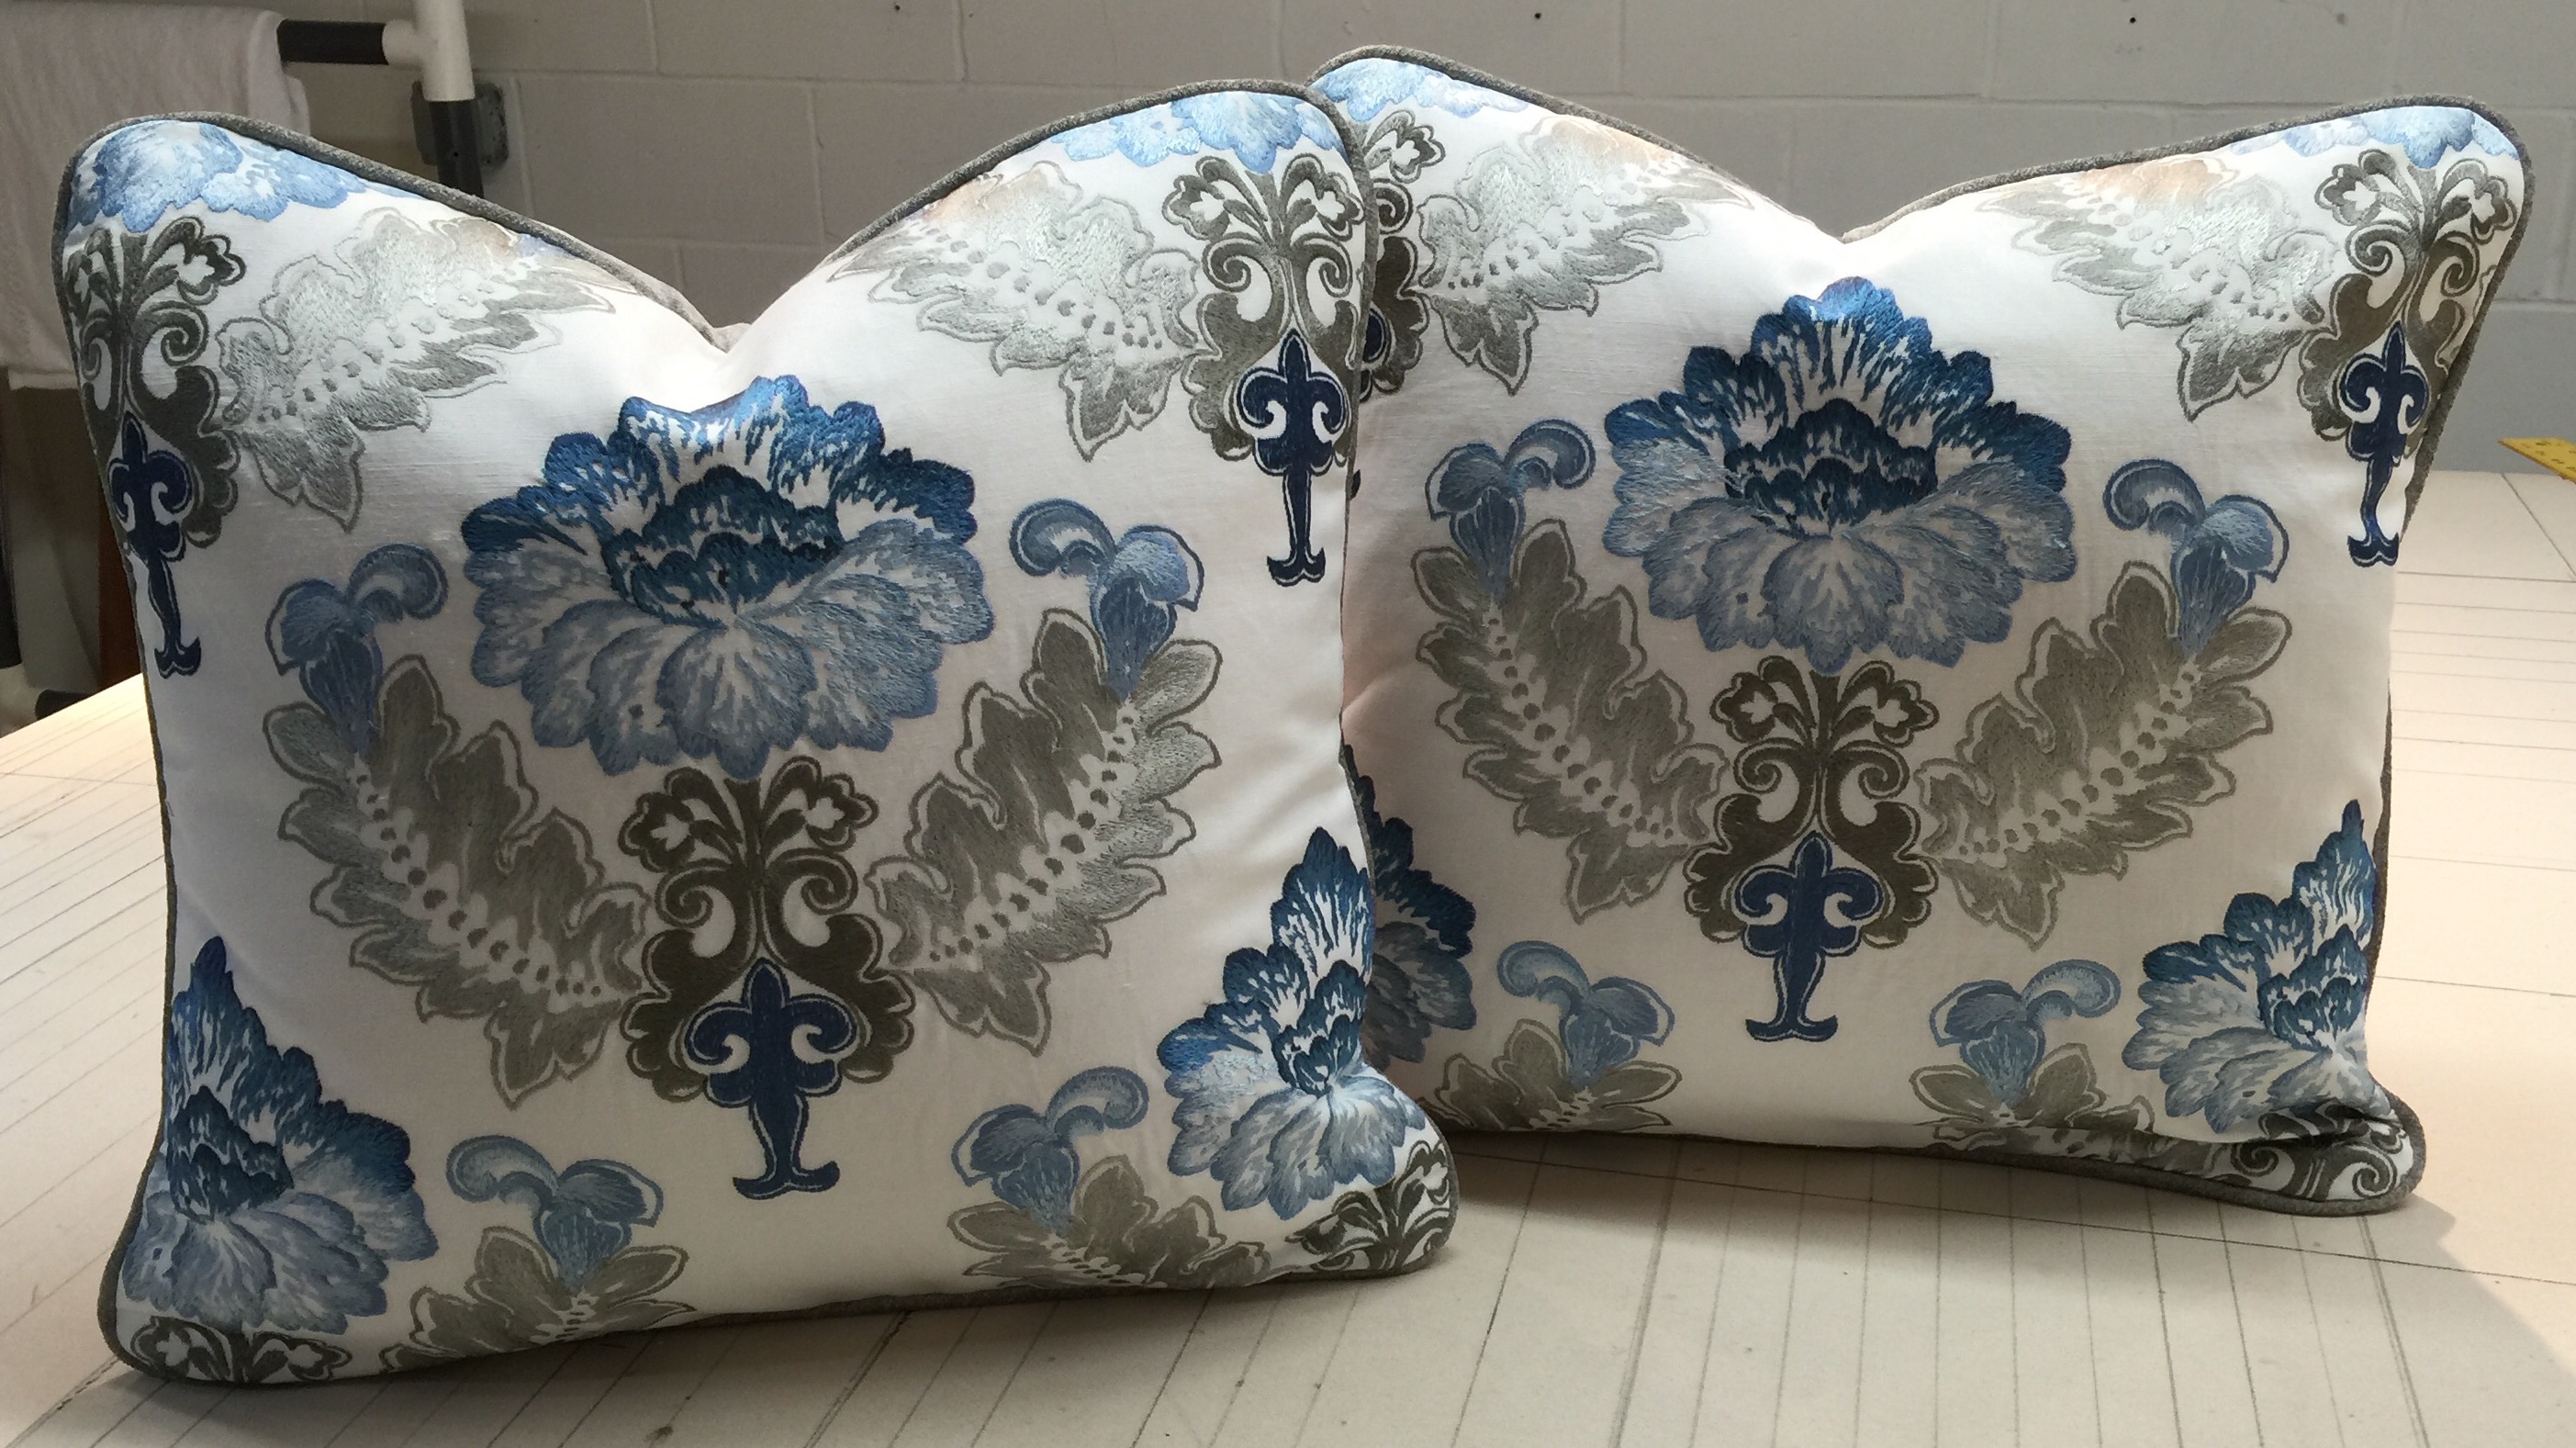
And the outside….
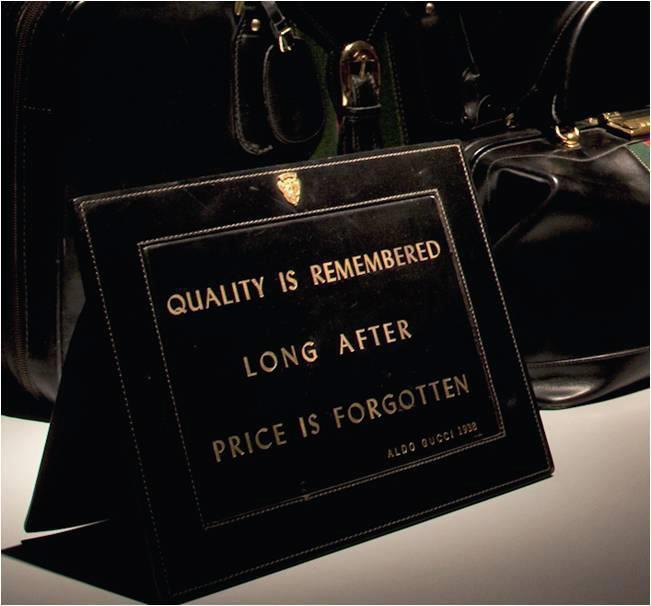
Whenever I make pillows I’m reminded of this saying – which was in the window of Brooks Brothers in Boston.
The next time you are considering purchasing a pillow at Home Goods or Pottery Barn, open up the zipper (if there is one!) and check out the quality!

Recent Comments
Beautifully explained!
Fabulous demonstration of the intensive process that goes into a quality product!